
This feature allows you to handle cargo at the package level (as opposed to a bulk shipment of items), and individually describe the package and its contents for international shipping/customs purposes.
Setup
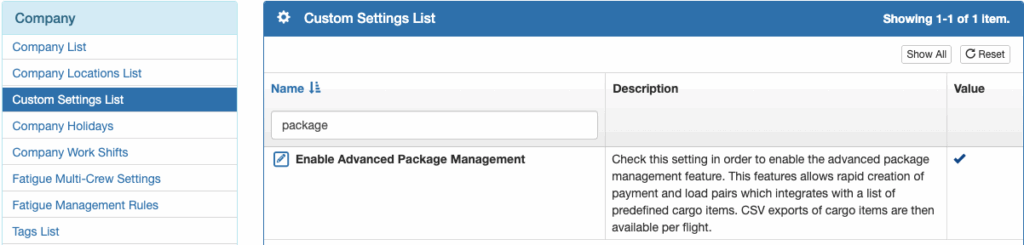
To enable package management, enable Advanced Package Management in Company Custom Settings.
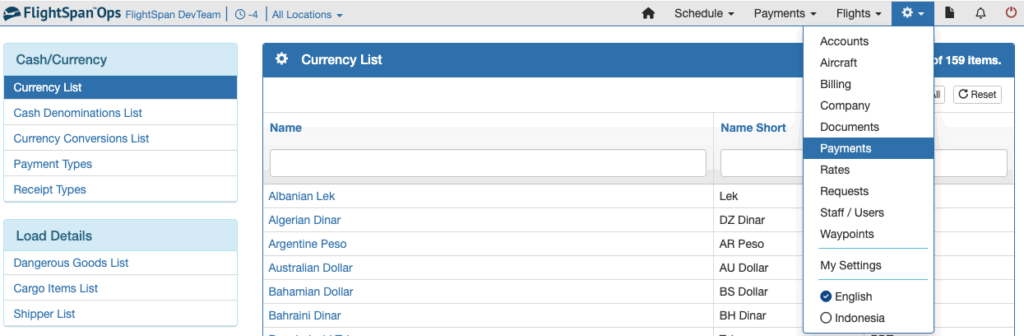
Next select Payments from the Settings menu.
Dangerous Goods
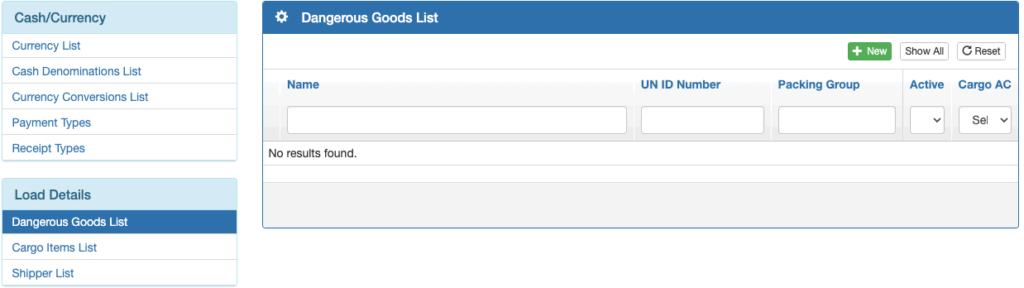
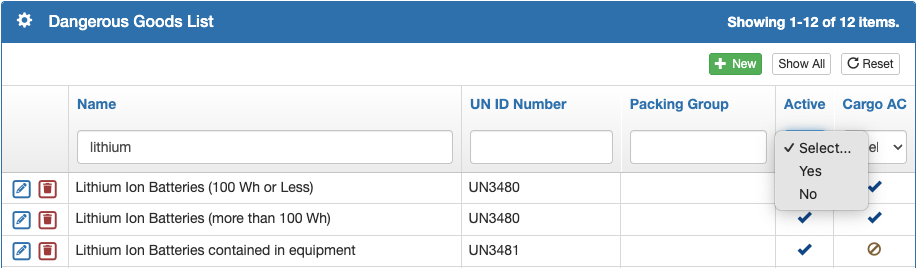
Select Dangerous Goods List from the Load Details menu on the left, and click the green New button.
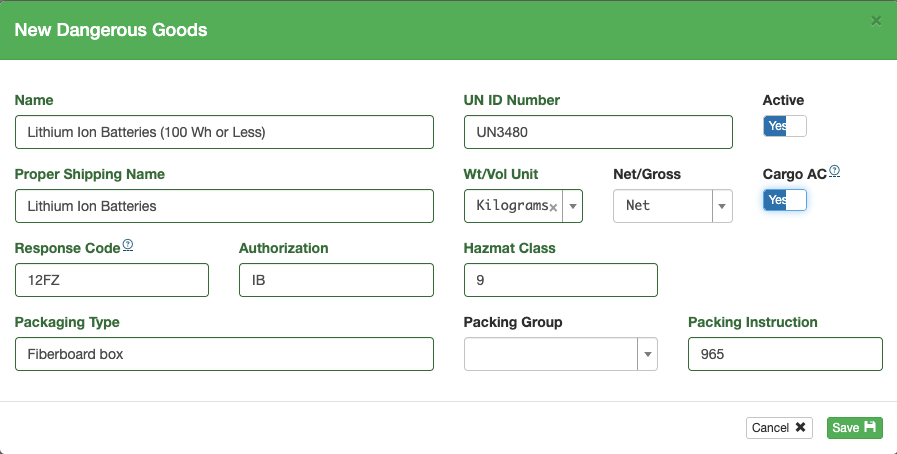
Enter all of the relevant details and Save.
Search and filter the list from the boxes at the top, and sort by clicking on the blue column headers.
Edit an item with the blue pencil icon, and delete with the red trash can icon.
Cargo Items
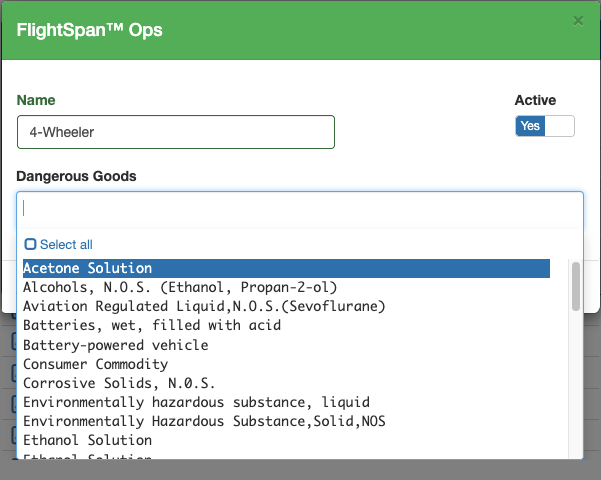
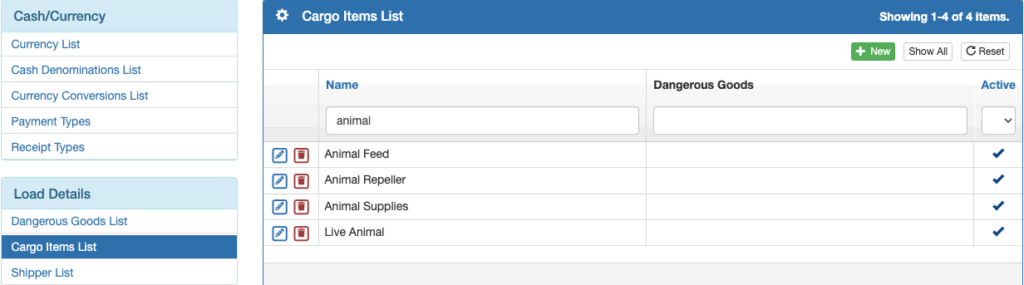
Next select Cargo Items List from the Load Details menu on the left, and click the green New button.
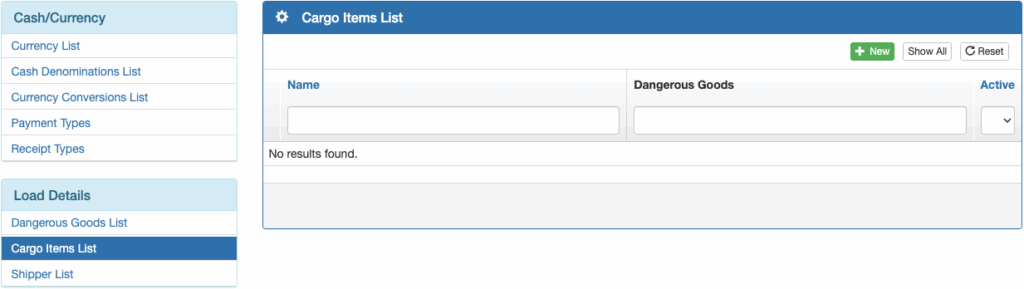
Enter commonly carried cargo items. If they are considered Dangerous Goods, select from the Dangerous Goods list, then Save.
Search, sort, edit and delete as with other lists.
Shippers
Next select Shipper List from the Load Details menu and click the green New button.
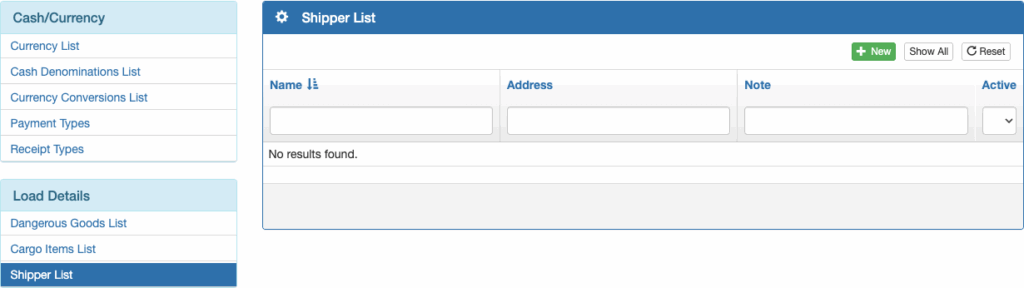
Enter the shipper name and any other desired details, then Save.

Destination Information
For each destination waypoint that accepts packages, complete the required information in the Waypoint Detail.

Enabling “Accepts Mail” makes it possible to check the “Mail” box when creating a package for that destination, meaning that the package will be handled as mail by the customs authorities at this destination.
Organization Information
Add Organization information and organization accounts as described in the Financial Management documentation.
At the organization level, you can set the default destination, tags, and unit number for all accounts within the organization.

Account Information
Each account that packages may be billed to should be linked to its parent organization.

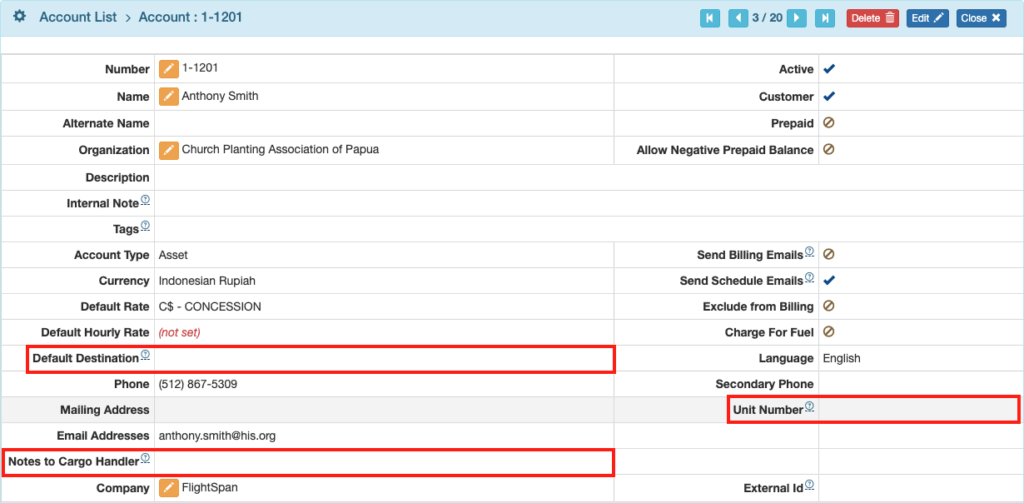
Add the following information to the Account Detail as needed:
- Default Destination – overrides the Organization default destination
- Notes to Cargo Handler – internal account note that provides information to the person processing the packages
- Unit Number – can be used for an additional tracking number tied to this account, or for any other purpose
Rates
Data Substitutions and Price Line Items can be created and conditionally applied by switching on For Package Itemization and selecting the appropriate package itemization names, then linking the Data Substitution or Price Line Item to the appropriate Rates.

User Roles
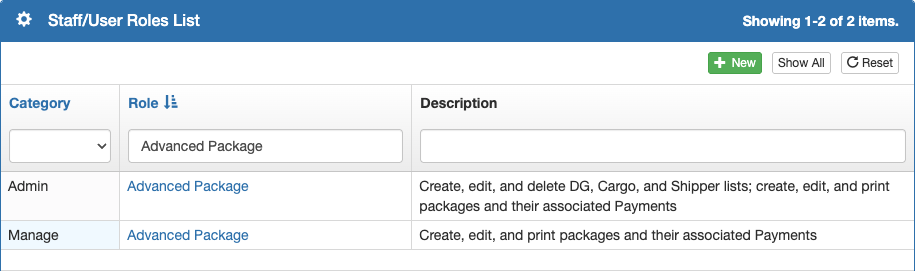
There are two Standard Roles that can be assigned to staff members responsible for package management.
- Admin – Advanced Package for those who are responsible for all aspects of package management, including adding shipper lists, item descriptions, and Dangerous Goods information
- Manage – Advanced Package for those who are responsible for day to day package management only
Processing Packages
From the Payments menu, select New Package.

Or from the Payments List click the Package button.

The New Package window will open.
Note: in the background, a new Payment is also created, which will be filled in with the data entered here.
Select the Cancel button to both close this window and delete the Payment.
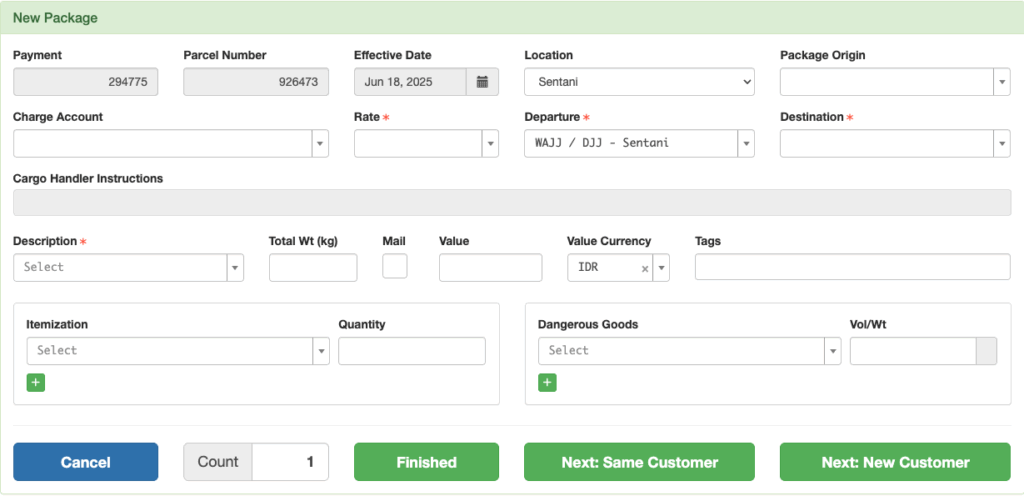
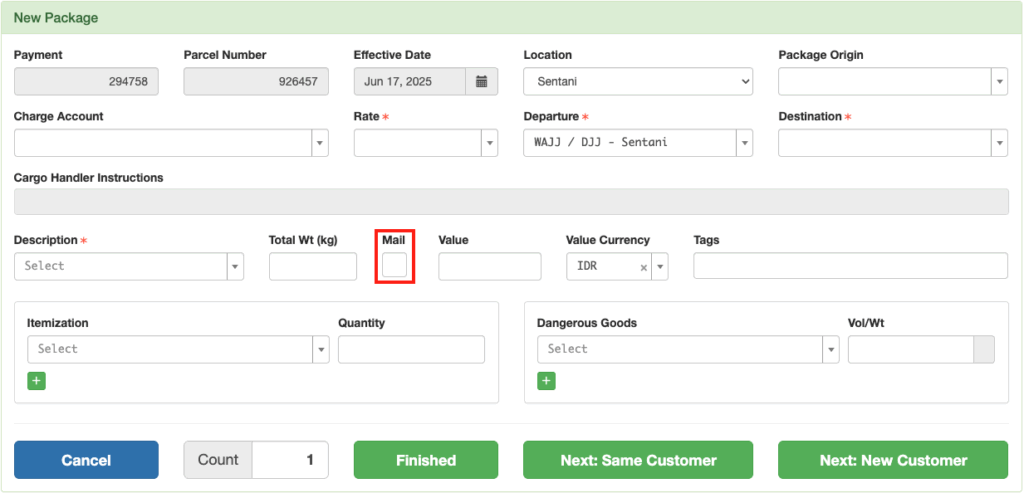
Package Origin (search from the list or enter a new shipper), Charge Account, Rate, and Destination are all required.
If you select an account with defaults set, the Rate, Destination, and Cargo Handler Instructions will be prefilled. The default Rate and Destination can be changed.

Note: A new shipper entered here will not be added to the list. If you want to save the shipper, add them from the Shippers List.
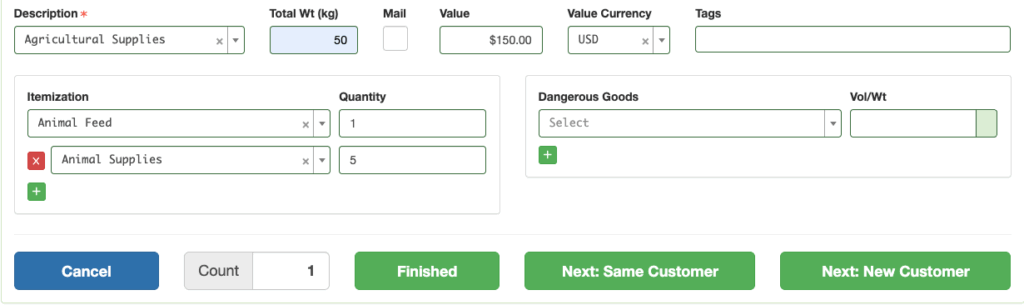
Description (search from the list or enter a new description) and Weight are required.
Enter the package value if required, check Mail as needed (if it has been authorized for the destination).
Tags allow for filtering at the time of manifesting cargo. They are inherited from both the organization level and the account level and also can be selected for the current package.
Itemize the package contents, using the green plus button to add more items as necessary.
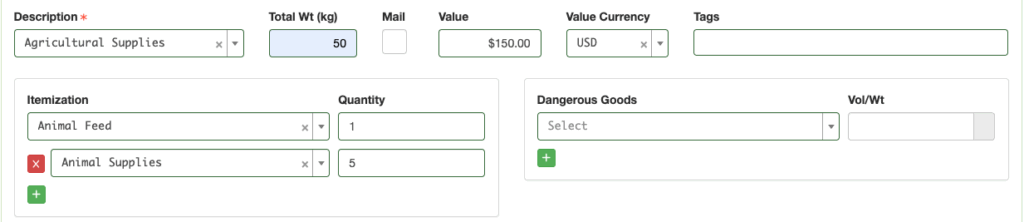
If the package contains Dangerous Goods, select from the list and enter the net weight/volume using the units appropriate to the type of DG.
If you are processing multiple identical packages, you can set the count to the number desired and a single Payment with that number of packages (each with their own unique parcel number) will be created in the next step.

Select Finished to close the form and print the tag; select Next: Same Customer to print the tag and re-open the form with the same account information; select Next: New Customer to print the tag and re-open a blank form.
The Payment will be completed with all the information from the form.

Package Management Exports
When Advanced Package Management has been enabled, there will be two .csv export files available for download
- Package Summary, which summarizes the package information on the flight sorted by recipient account/organization
- Package Detail, which itemizes the package information on the flight
These .csv files can be used to populate various pdf forms as needed.
If Advanced Packages are on a Manifest or completed Flight, the export buttons can be found on the upper right corner of
- The Schedule Detail in the Manifest Loads section
- The Manifest Detail in the Loads Departing From section, or
- The Flight Detail in the Loads Flown section
