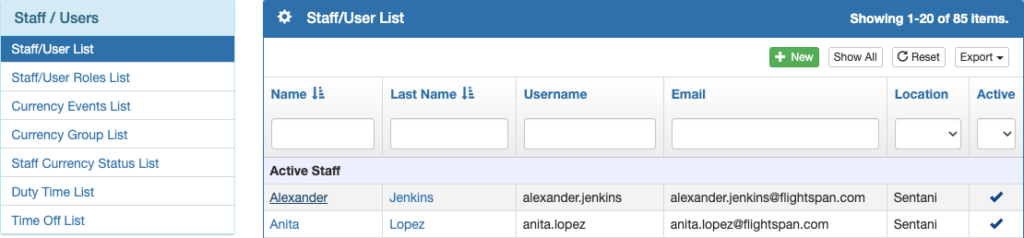
When linking a staff member to multiple Roles, select Staff/User List from the Staff / Users menu on the left, and click on the name to open the Staff Detail.
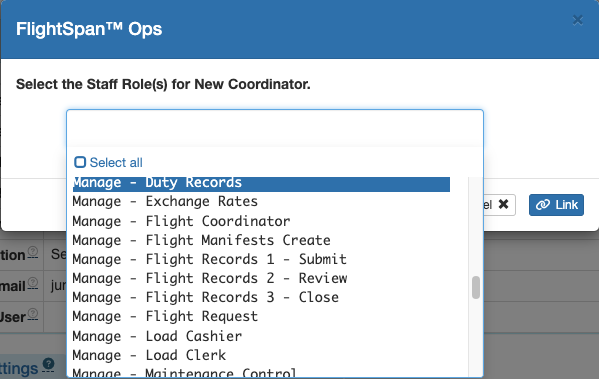
Click the blue Plus button to link the user to a new staff role. The chosen role(s) can be Standard or Custom Roles.
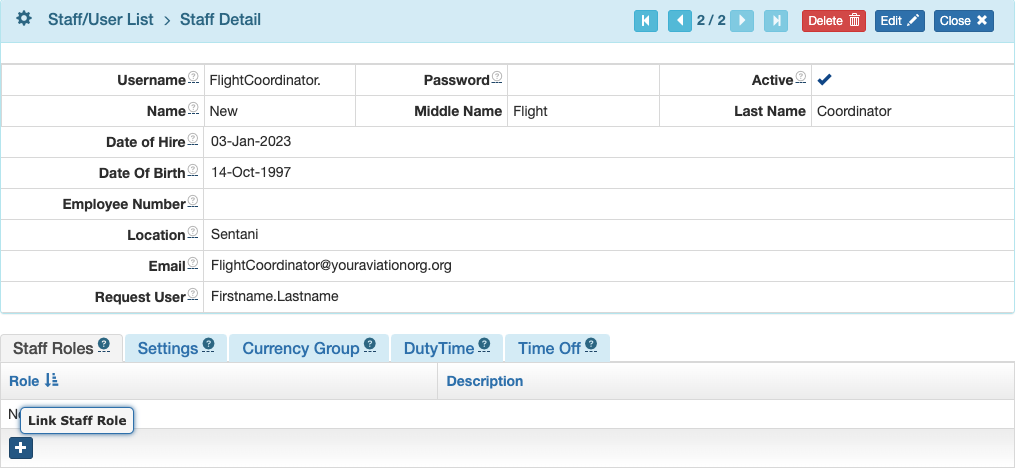
Begin selecting and adding all the Roles they will need.
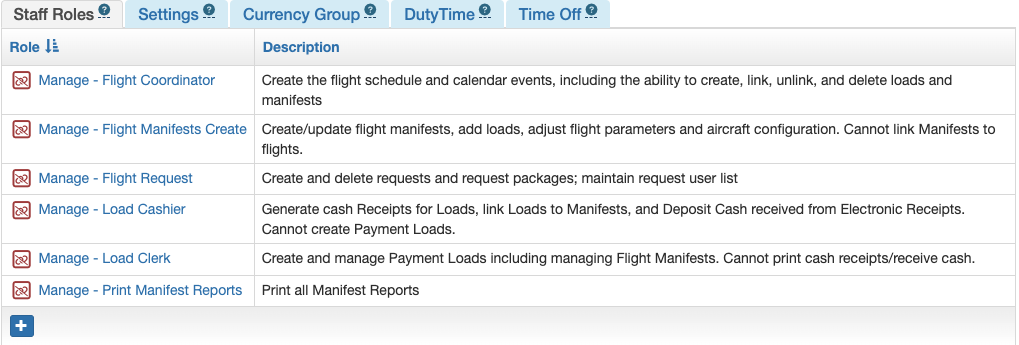
Staff Roles are often overlapping, and the number and type of roles you grant will vary depending on the scope of the user’s responsibilities.
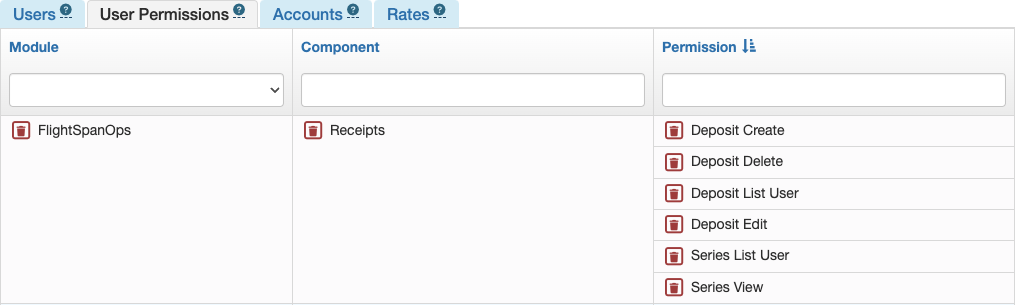
Permissions that include “User” mean that the user is limited to viewing only their own records; in the example below, the User can view only their own deposits and receipts. Permissions that contain “All” mean the user can view all records.
Troubleshooting
If the staff member still doesn’t have access to all the data they need, or if they have access they should not have, verify the permissions they have assigned.
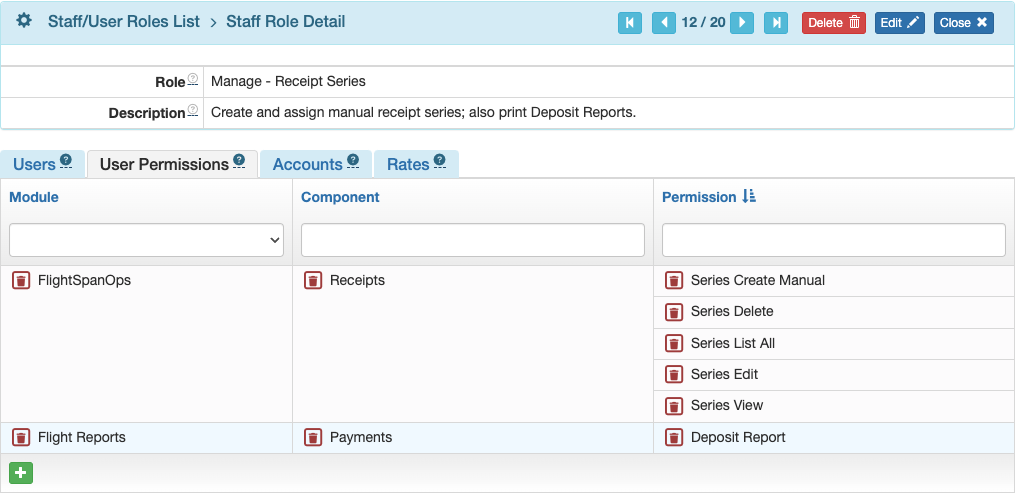
Select the User Permissions tab to see the permissions associated with that role. Link or unlink roles, or create and edit new Custom Roles as needed until the staff member has appropriate access.
Video Version