
Begin dragging and dropping elements into their desired locations. If you need a custom element, refer to the Chart Custom Fields lesson.
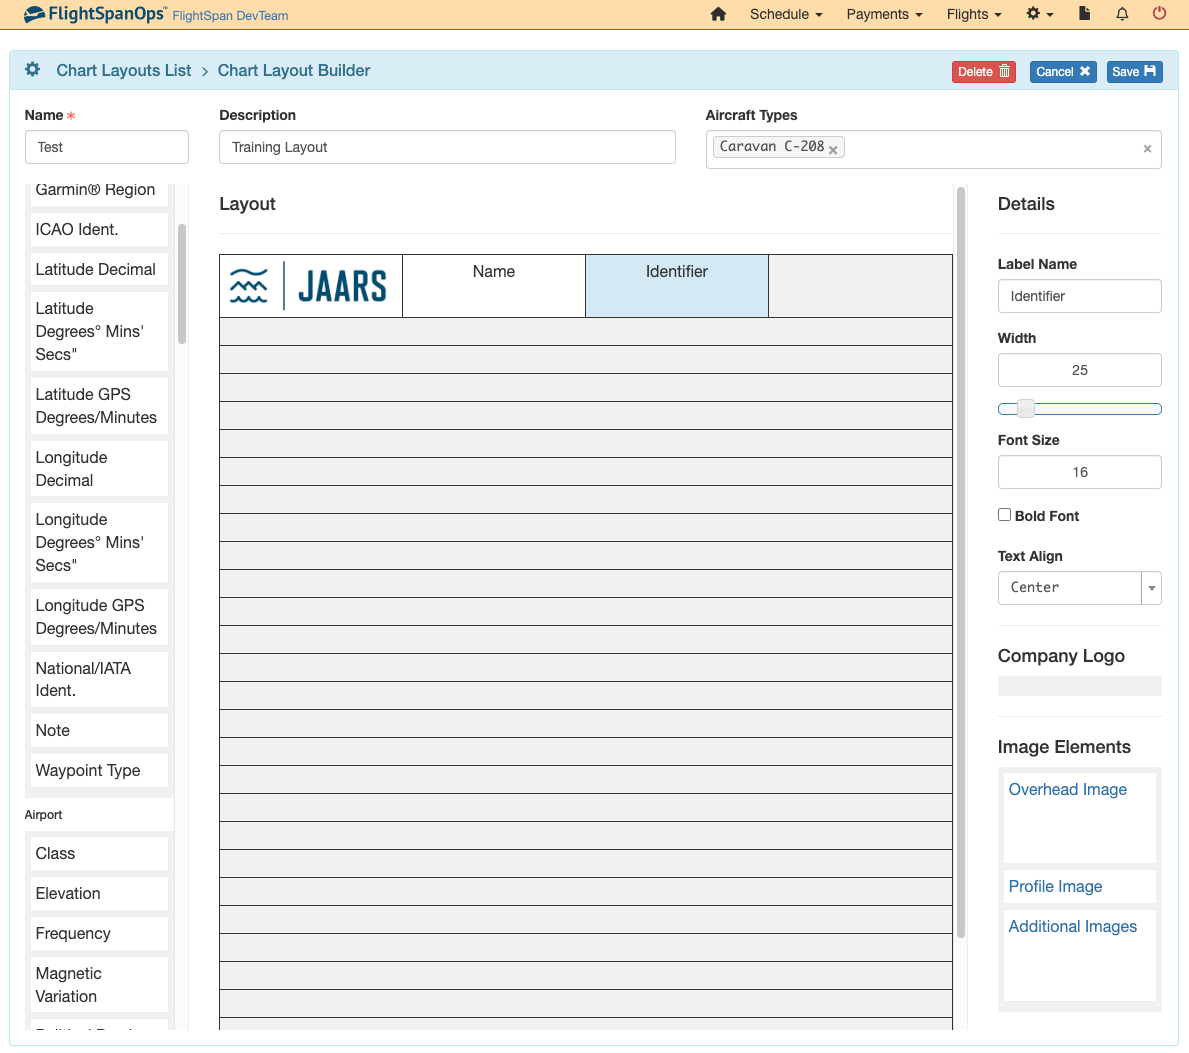
If you wish to remove an element, simply drag and drop it off to the side. The next time you navigate back to the page, the element will be back in the correct order in the list.

Be careful not to inadvertently stack one element on top of another. If two elements are stacked, the horizontal line dividing the cells disappears.
Formatting Tools
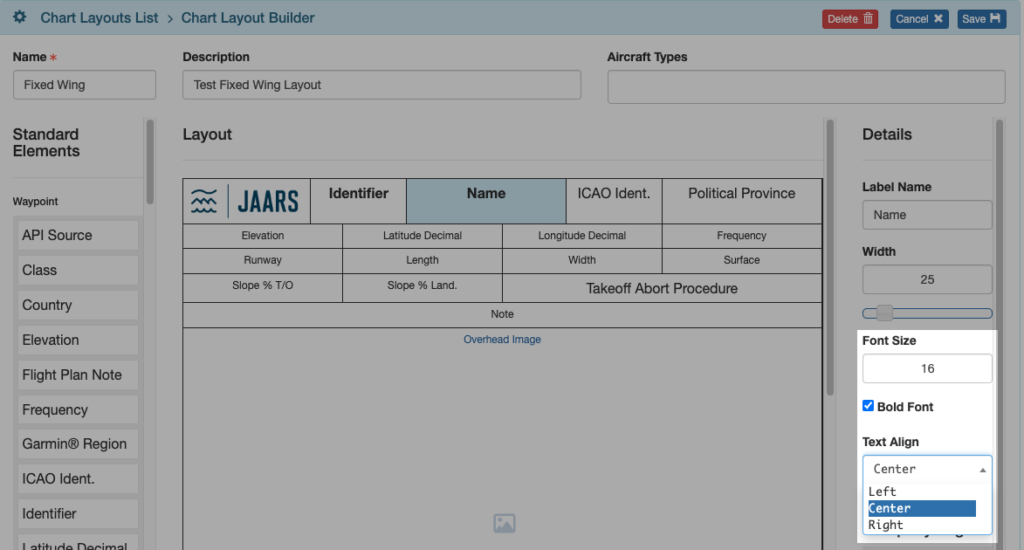
Formatting Tools are used for basic element formatting

Width may be set by selecting the cell then changing the number,
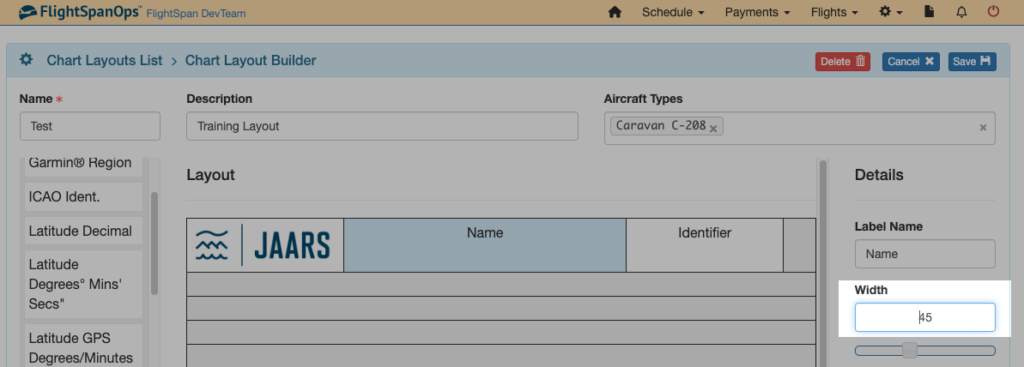
Or by dragging the width bar. Total chart width is 100.
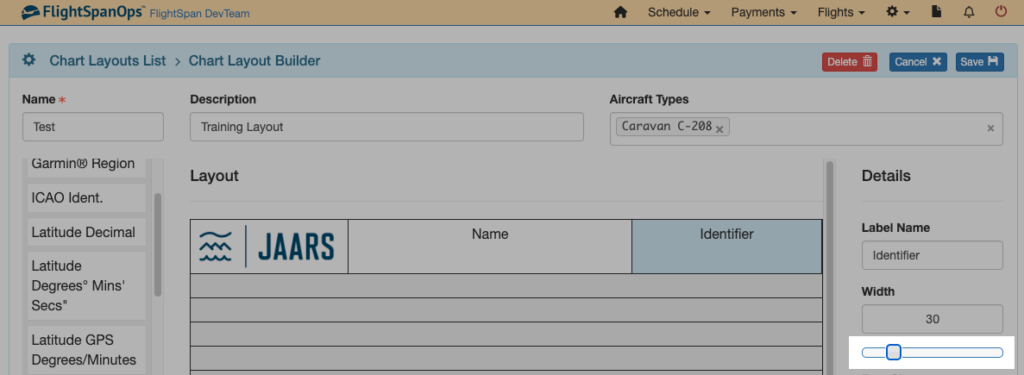
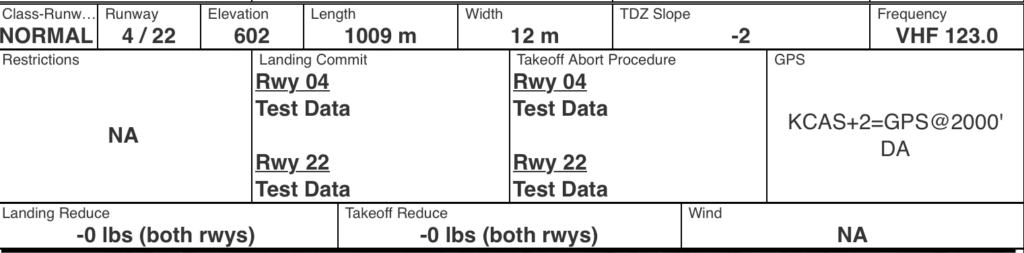
When the width of cells in a row add up to less than 100 as in the first screenshot, FlightSpan™ expands the cells to fit the column evenly on the EFB, and on the Runway Chart Details page.


To avoid the appearance of a problem when building charts, we recommend expanding the cells to fit the row.

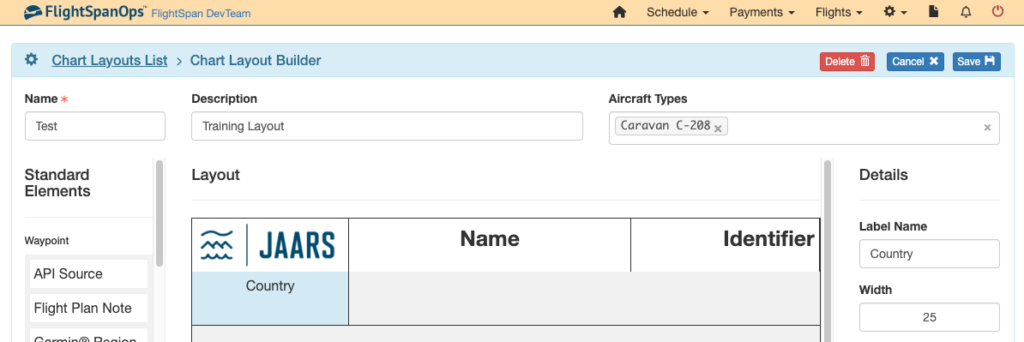
Edit Label Name to reflect the title you want to appear on the chart if you desire something other than the Element name to be displayed on the chart in the EFB. Or you can leave the Label Name blank. Note that in the Chart Layout Builder, the cell will retain the Element name.

Format font size, bold, and text alignment of the data as desired after selecting the Element.
White Space elements can be labeled like other elements, and row height is adjustable.
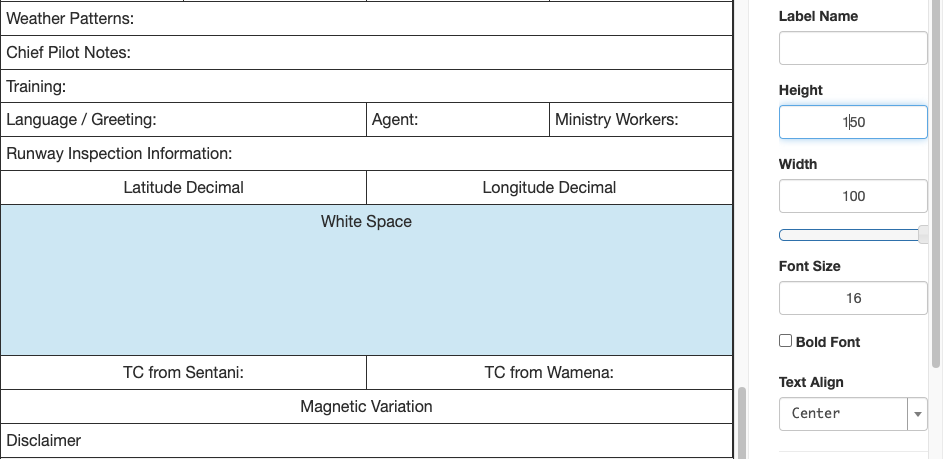
Note that you are formatting the data only, not the label name. When viewing the completed chart, label names will always be left justified and of a uniform size.
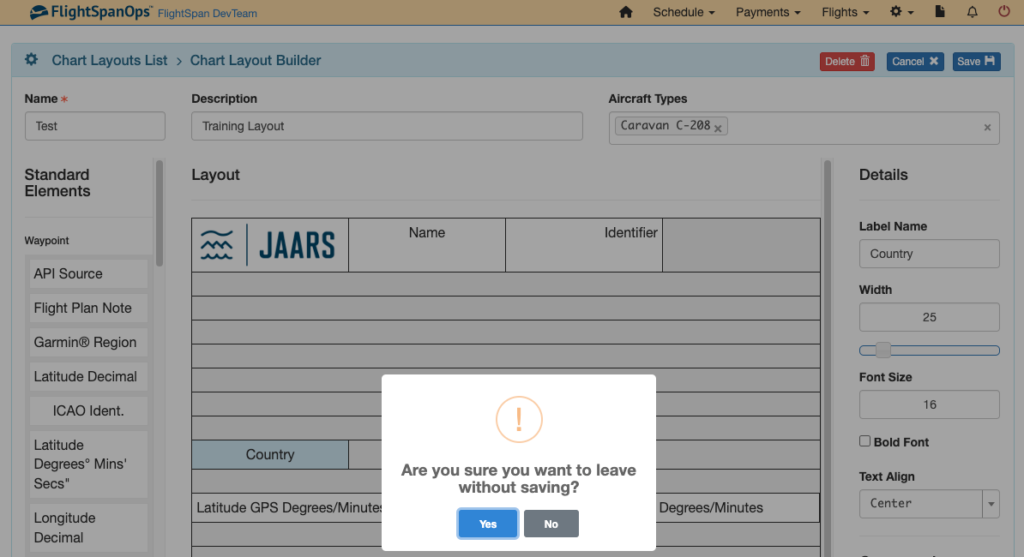
Be sure to save before navigating away from the page.
Video Version
