Importing Accounts
When first setting up FlightSpan™ Ops, work with FlightSpan Support to import your existing accounts.
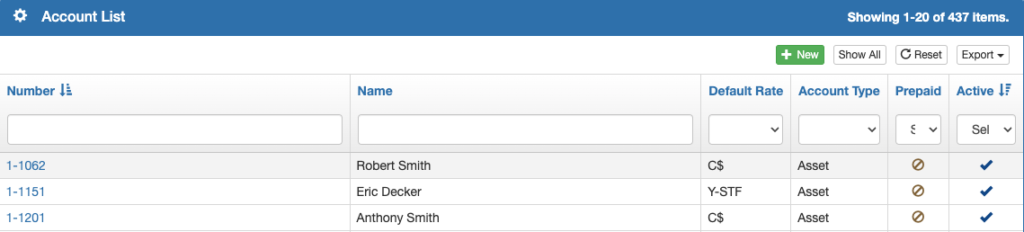
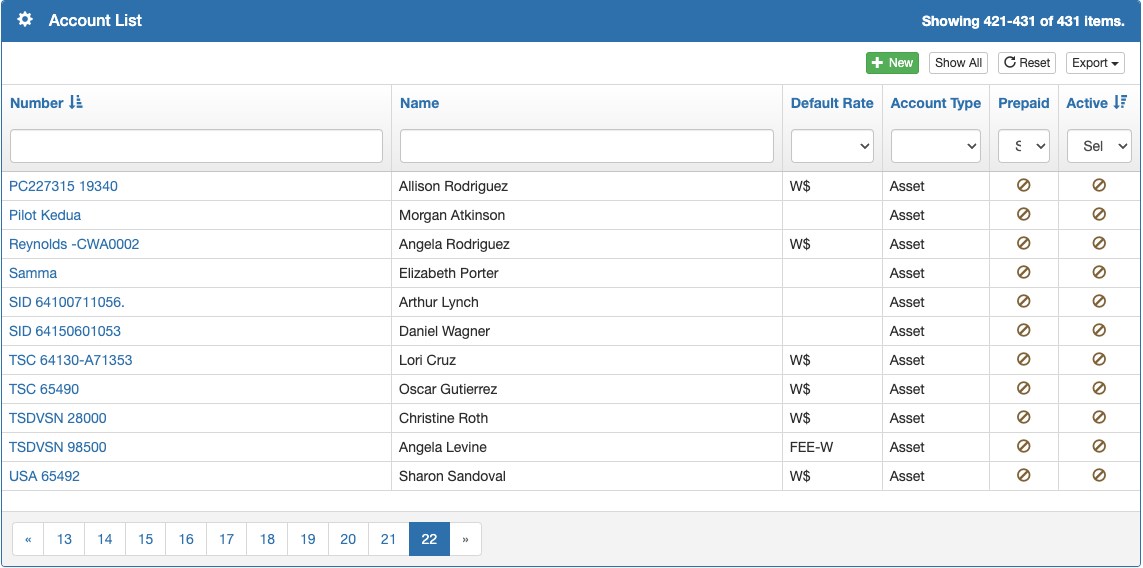
View Accounts
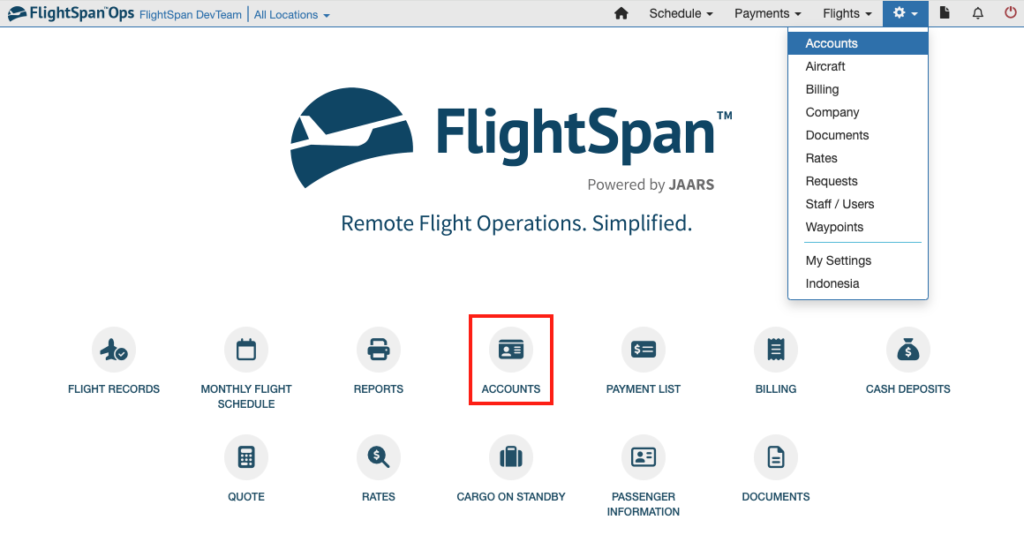
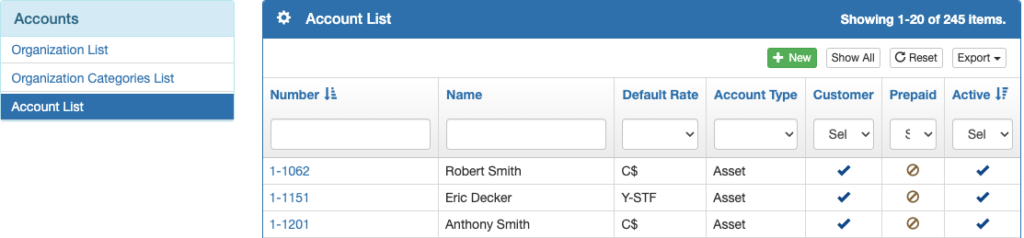
Open from the Home Page using the quick link if you have added it, or from any page, select Accounts from the Settings menu.
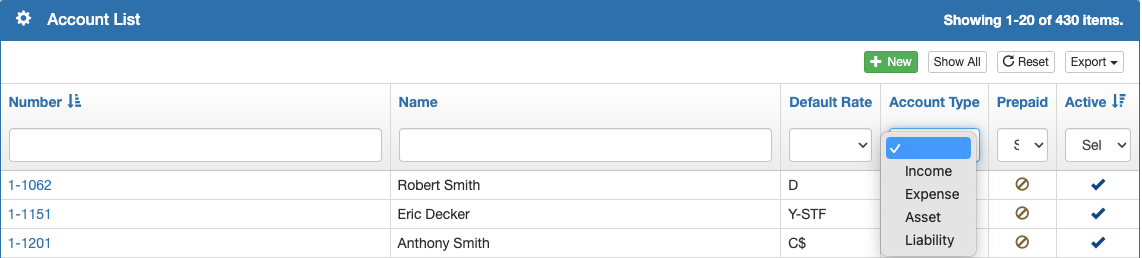
Accounts can be sorted by clicking on the blue column headers, searched using the boxes, or filtered using the dropdown lists. Use the Reset button to return to the full list in the default sort order.
Edit and Create Accounts
To edit, click on the account number, then the edit button, make the desired changes, and Save.
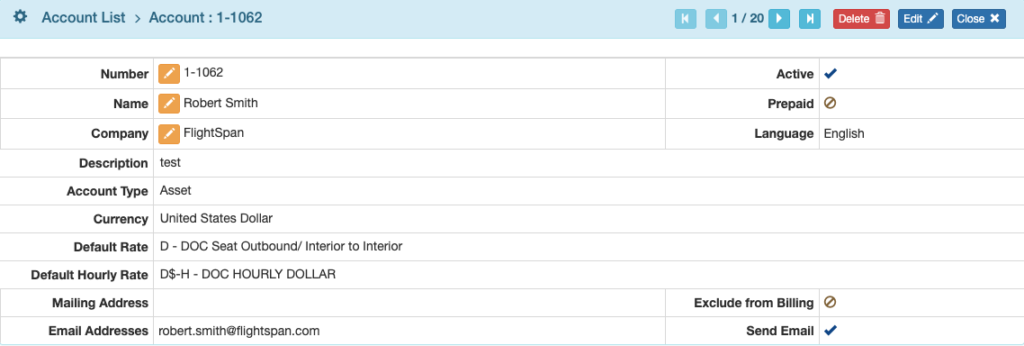
Note: For the purposes of FlightSpan, customer accounts are normally considered Asset accounts; income generated from sales will be an asset to your financial management software.
A change history is displayed at the bottom of the record.

To create a new account, click on the green New button.
Fill in the data, account type, and default rates (if you have already set up your rates; otherwise you will need to come back and do that later).
Set whether to send email scheduling notifications, and whether a bill should be sent.
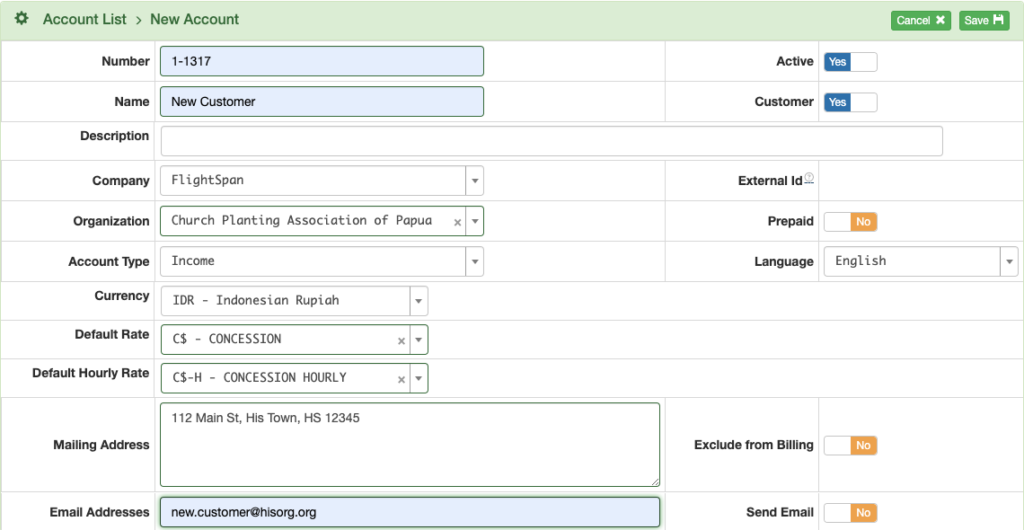
Note: Exclude from Billing is normally used for internal non-revenue accounts such as training, staff transportation, etc.
Note: The ‘Customer’ toggle defaults to Yes for new accounts. This allows you to clearly distinguish between internal accounts (for fuel, training, etc.) and customer accounts.
Next, link Staff Roles for who can select the account by clicking the blue plus button.

Select the desired staff roles that will be using the account and click Link to grant permission.

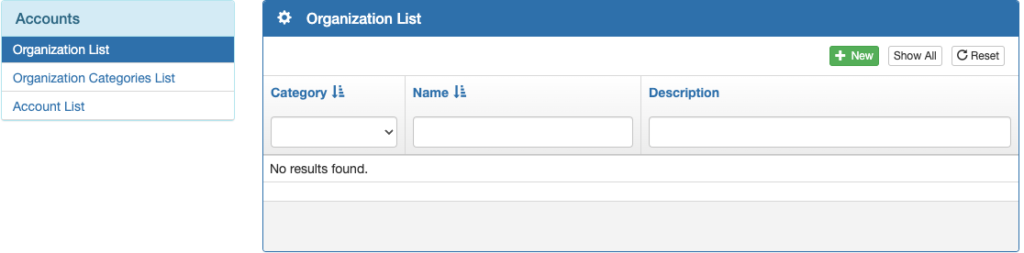
Add Organizations
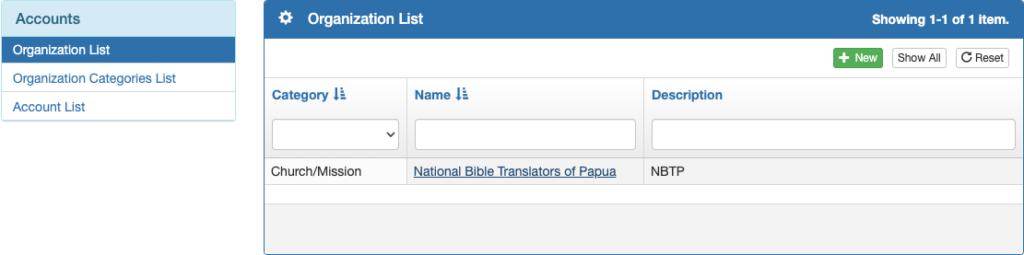
From the Accounts page, click on Organization List in the Accounts menu, then click the green New button to begin adding organizations you serve.
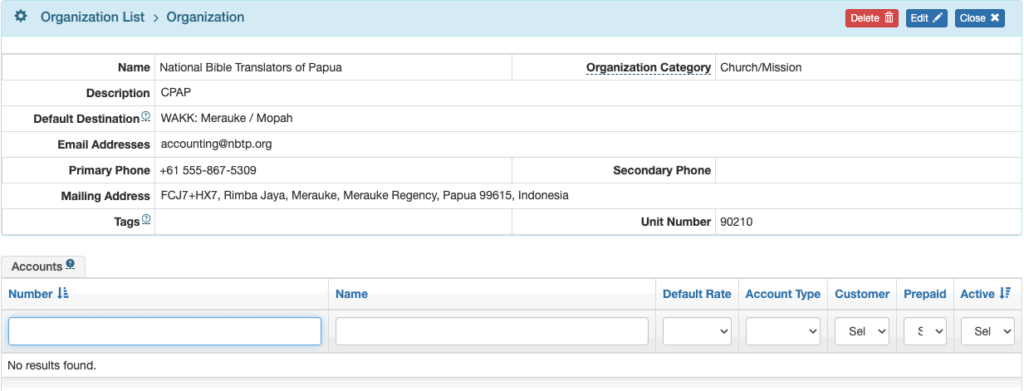
Add the organization name and category (used to group data on reports), and a description if desired.
Set the default destination, tags, and unit number that will be associated with all accounts linked to the organization.
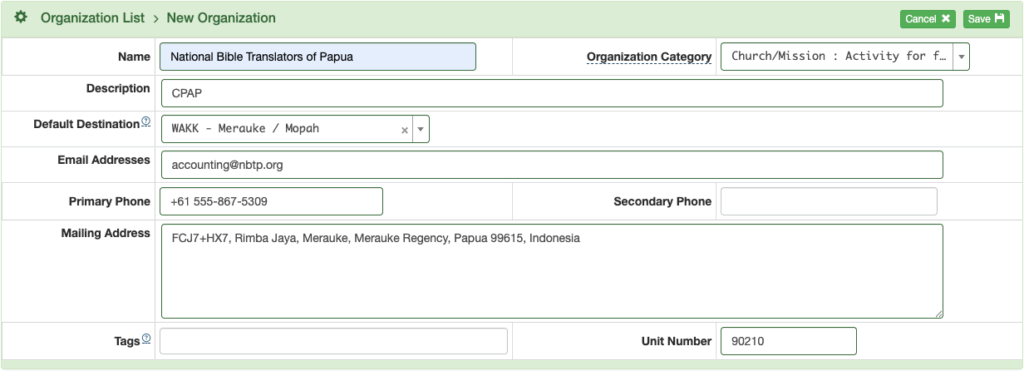
Note: Organization Categories are the same as Group Categories in the Rate section and can be managed here or in the Rate section.
Close, and continue to add organizations as needed.
Or click on the organization name to edit existing organizations.
Link Accounts to Organizations
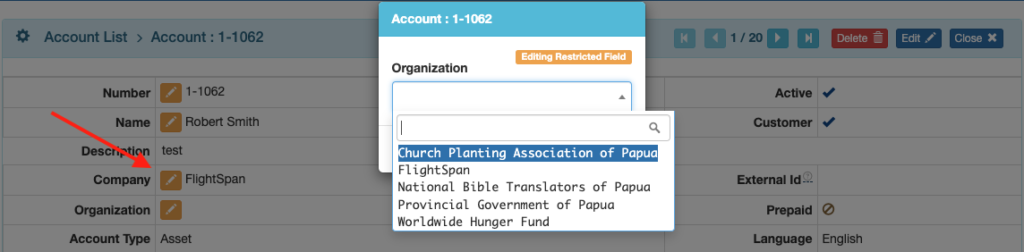
Once you have created organizations, open the Accounts List from the Accounts menu, and click on the account number to edit.
Click on the yellow Organization icon, select the organization associated with the account, and Save.
You can use the arrow keys to work through the accounts list to continue assigning organizations.

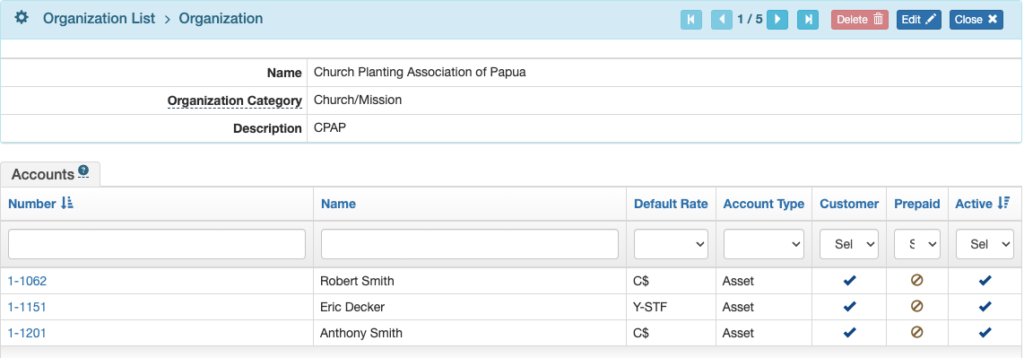
Accounts associated with an organization will now show up on the organization’s detail view.
Export Accounts
If only one page is displayed, only that page will export.
To export all accounts, first select Show All.

Then click the Export button and select the type of file to export to, and OK to proceed.

To export some accounts, click Show All, filter and sort as desired, then export.

Video Version