The customer flight request form can be customized for your company’s unique needs.
Custom Settings
From the Settings menu choose Company, then Custom Settings List from the Company menu on the left side bar, and search “request”.
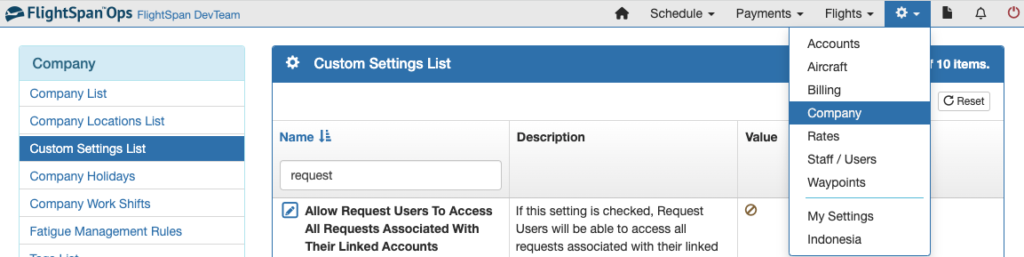
Use the blue pencil icons to edit each item.
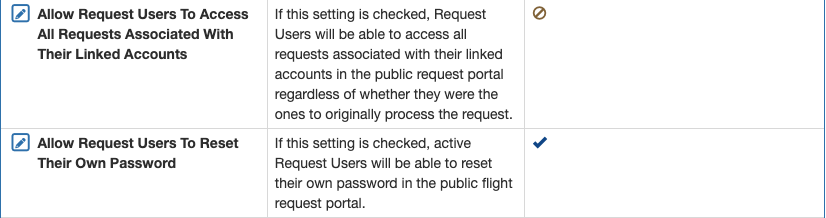
Control what flight requests customers can access and whether they can reset their own password.
The default rates that will be used if the requestor does not already have an assigned default rate are changed from the rate itself – do not change the numbers here. See the Rates documentation for more details.

Use this switch to activate and deactivate the public flight request form. When the switch is activated, anyone with your flight request form link can submit a flight request. When the switch is disabled, only users with a Request account will be able to submit a flight request.

When activated, this switch will flag any Payments that use a rate not associated with the user who requested the flight.

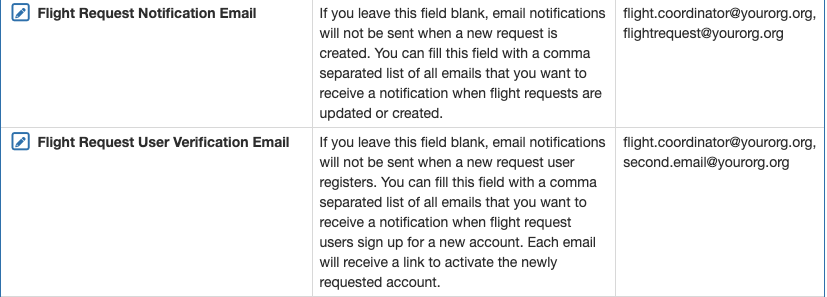
Add email addresses for Flight Request and User Verification notifications as necessary.
Next choose which standard form fields will be used.

Drag items from the left column to the right column to add those fields; drag from the right column to the left column to remove fields; drag up and down in the right column to change the order of the form. Be sure to save.

Company Branding
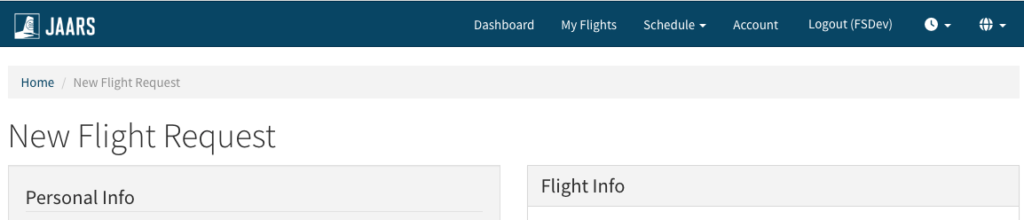
By default, your company name will be displayed at the top of the request form in a royal blue.
If you wish to display your company logo and primary color instead, from the Settings menu select Company, then click on your company name.
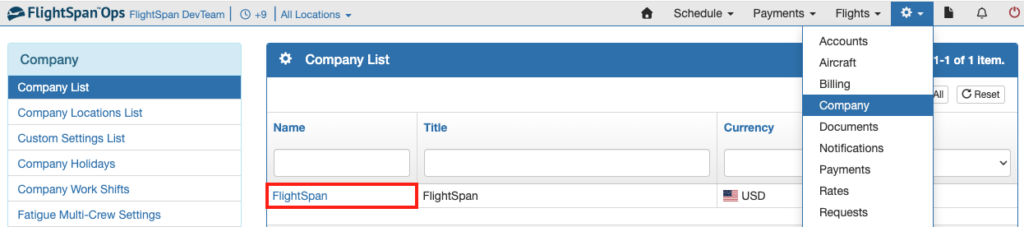
Next select Edit, and upload your logo in the Logo Public Portal field.
Next select the color from the color palette, or enter the HEX color code, then select Choose.
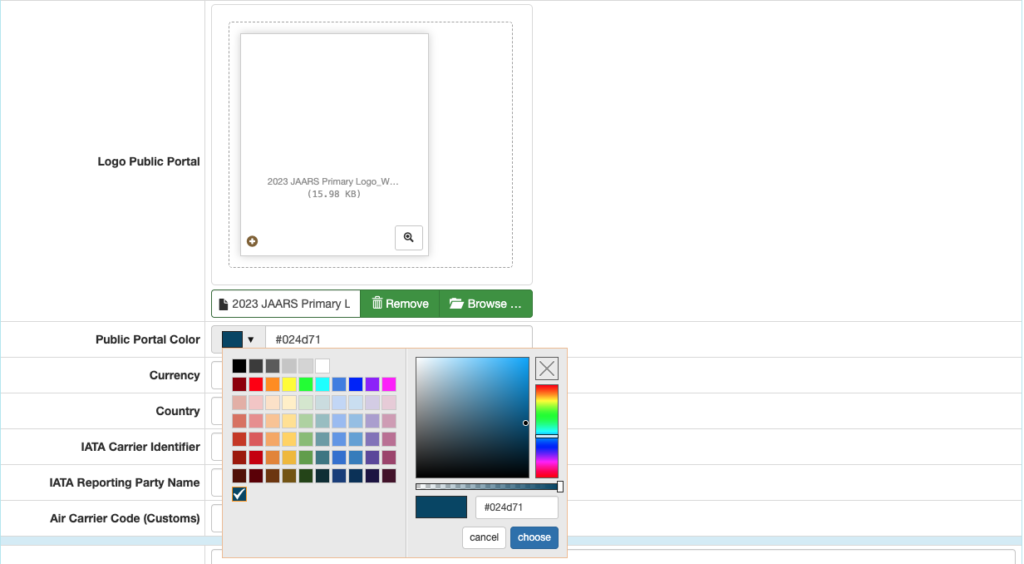
Be sure to Save before exiting the page.

The portal will display your color and logo at the top.
Purpose Codes
Determine what Purpose Codes you want available to those without a request user account by following the Rate Groups setup instructions.
Users with an account will also be able to see Purpose Codes that correspond to the default rates associated with all accounts they are approved to use in flight requests.

Video Version