From the Scheduling Calendar, click on a flight to access the Schedule Detail page.
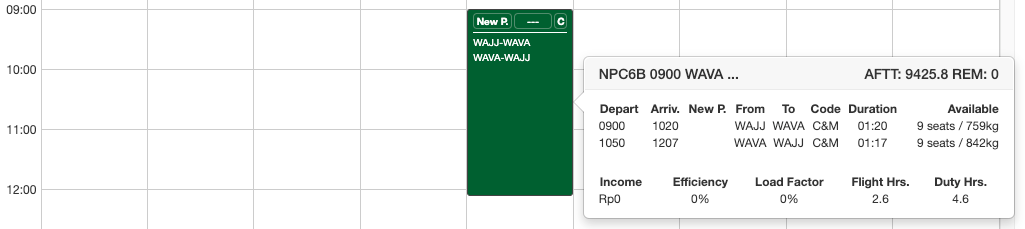
While viewing the Schedule Detail, scroll down to the Loads sections.
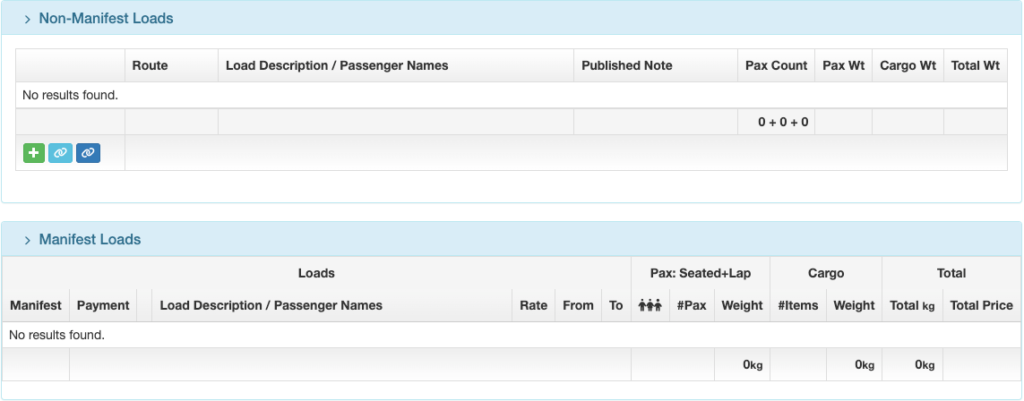
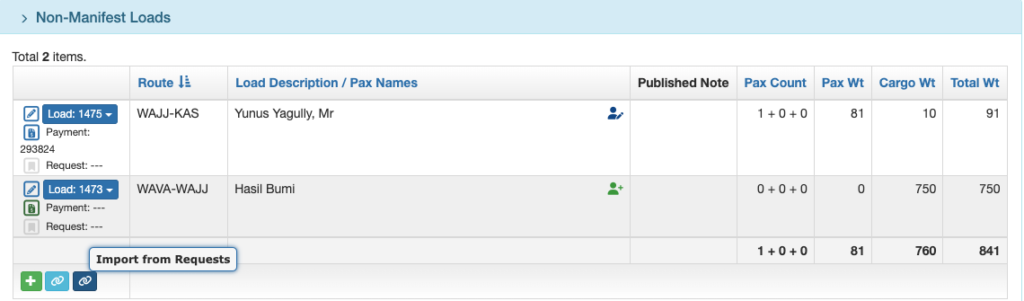
Non-Manifest Loads
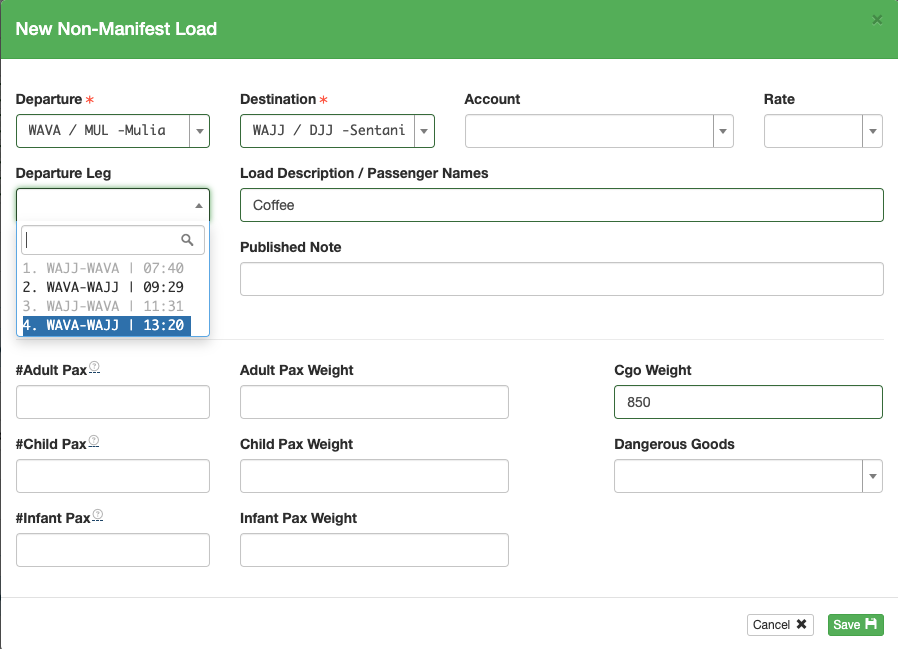
Manually Create Non-Manifest Load
Non-Manifest Loads are generally outstation-outstation or outstation-home base loads. Create a new non-manifest load by clicking on the green plus button.

Enter as much detail as you can and click Save.
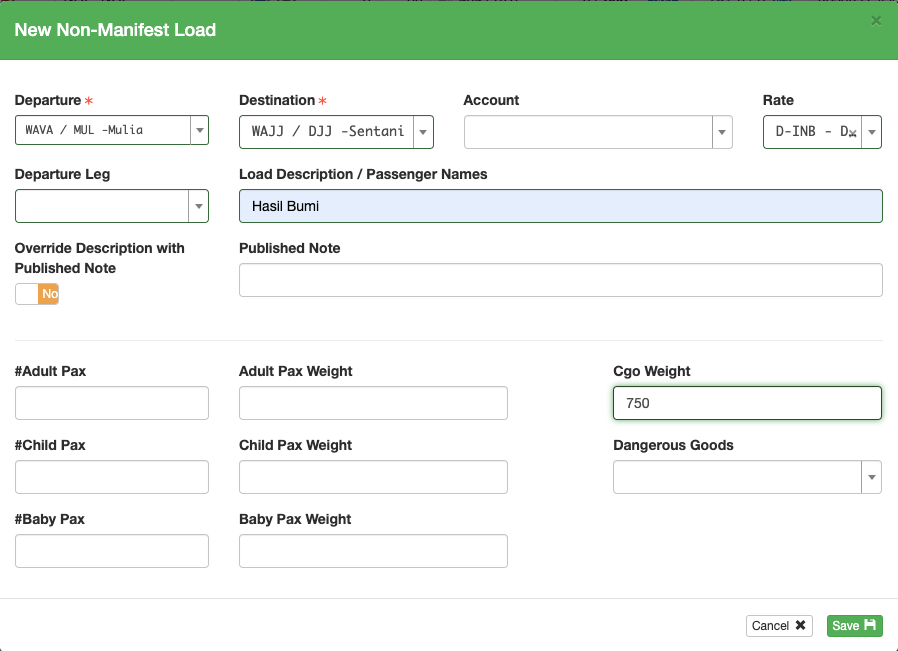
If the flight departs the load’s departure point more than once, select the correct Departure Leg.
Import Non-Manifest Load
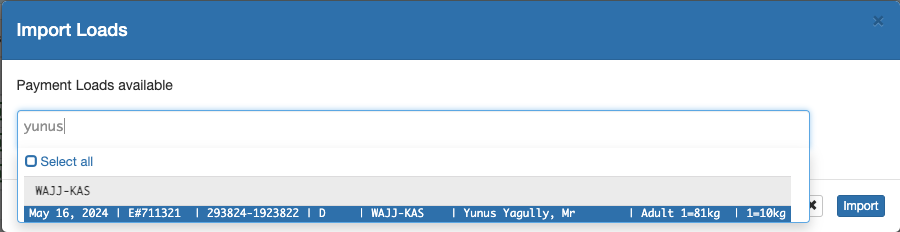
Click the light blue link icon to import a Payment Load

Search by date, name, waypoint identifier, or any other detail associated with the flight to find all loads associated with the search criteria. Select the desired load and click Import.
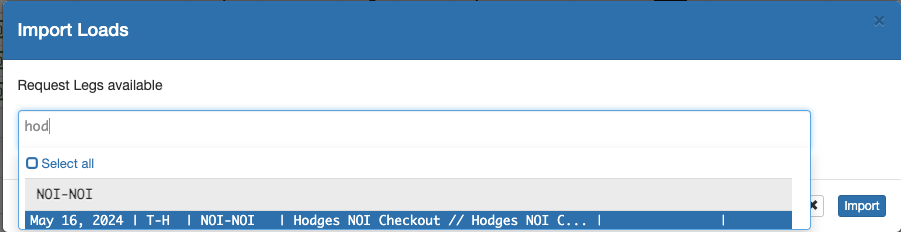
Click the dark blue link icon to import a load from Flight Requests.
Search using any piece of information in the request, select the request and click Import.
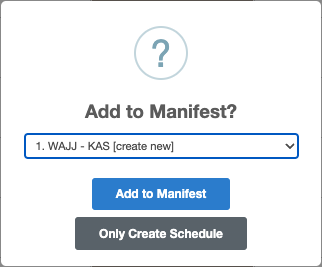
Non-manifest loads can also be added by dragging a Flight Request or a Payment onto the scheduling calendar.
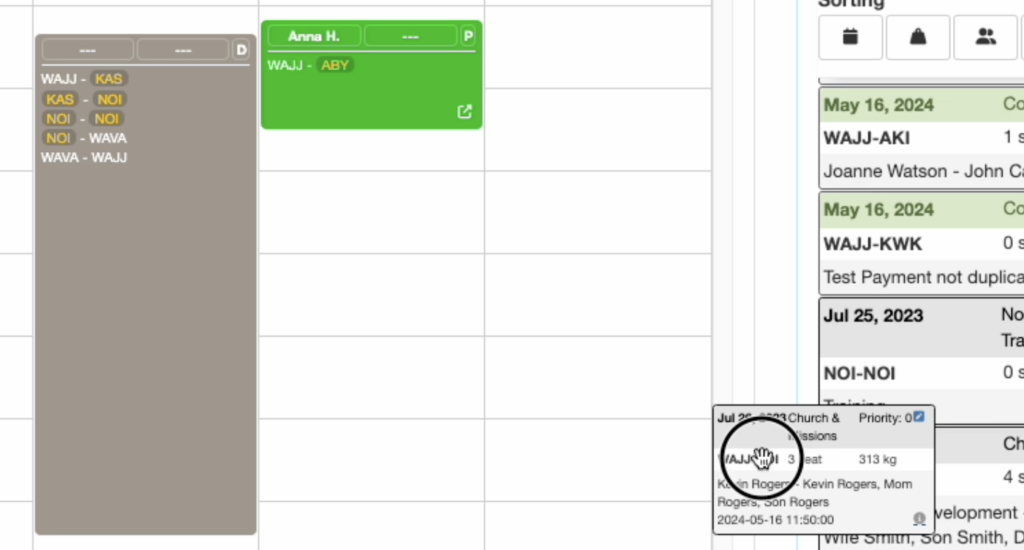
If there are associated payment details (account number or a cash-type Payment record) you will be asked if you want to add it to a manifest. Select Only Create Schedule.
Edit Non-Manifest Load
Edit a load by clicking on the blue pencil icon.

If the load is associated with a Payment, the payment itself will open for editing. Clicking on the Payment icon will also open the Payment for editing.
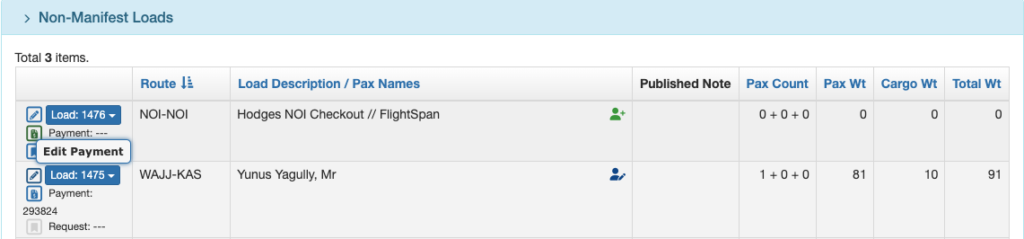
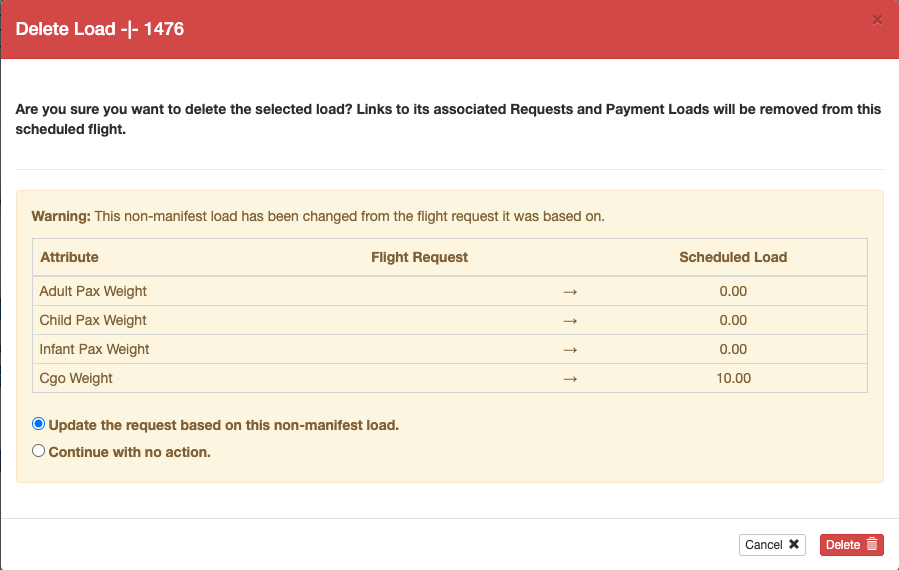
Delete Non-Manifest Load
Delete a load by clicking on the Load number, then Delete Non-Manifest Load.

If the load is associated with a Flight Request, you will be given the opportunity to update the Flight Request with any changes that have been made.
Manifest Loads
See the Creating Payments documentation for instructions on how to create a Payment on a manifest, and the Linking Loads to a Manifest documentation for how to link an existing Payment load to a manifest.
Video Version