
When your chart layout is complete (don’t worry, you can easily come back and make changes) it’s time to start building the charts themselves. From the Waypoints page, click on Waypoints List under the Navigation Data menu.
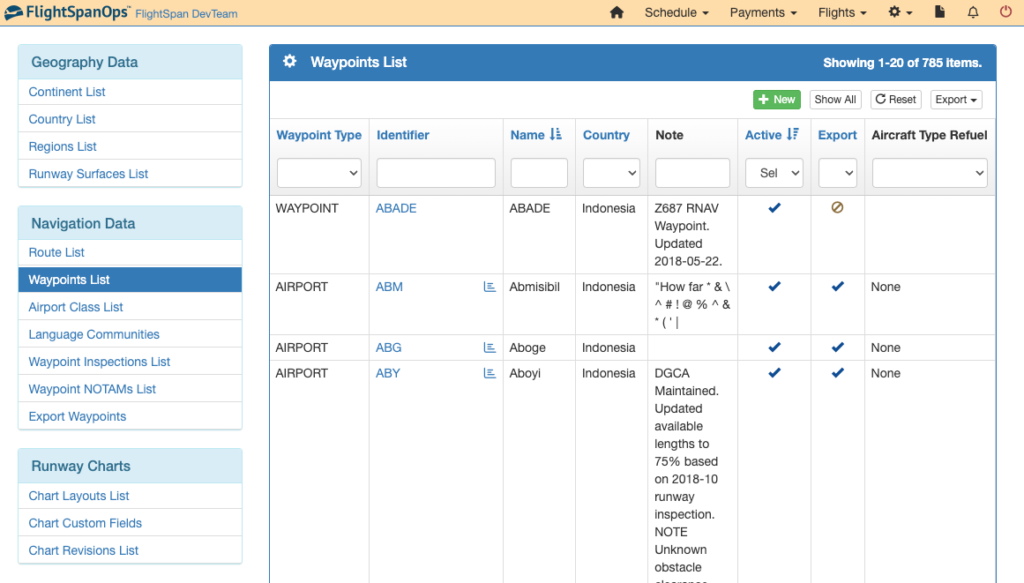
Search for the desired waypoint.
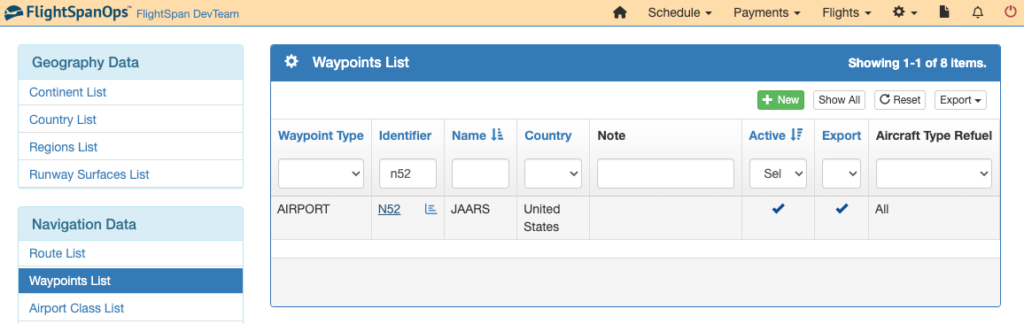
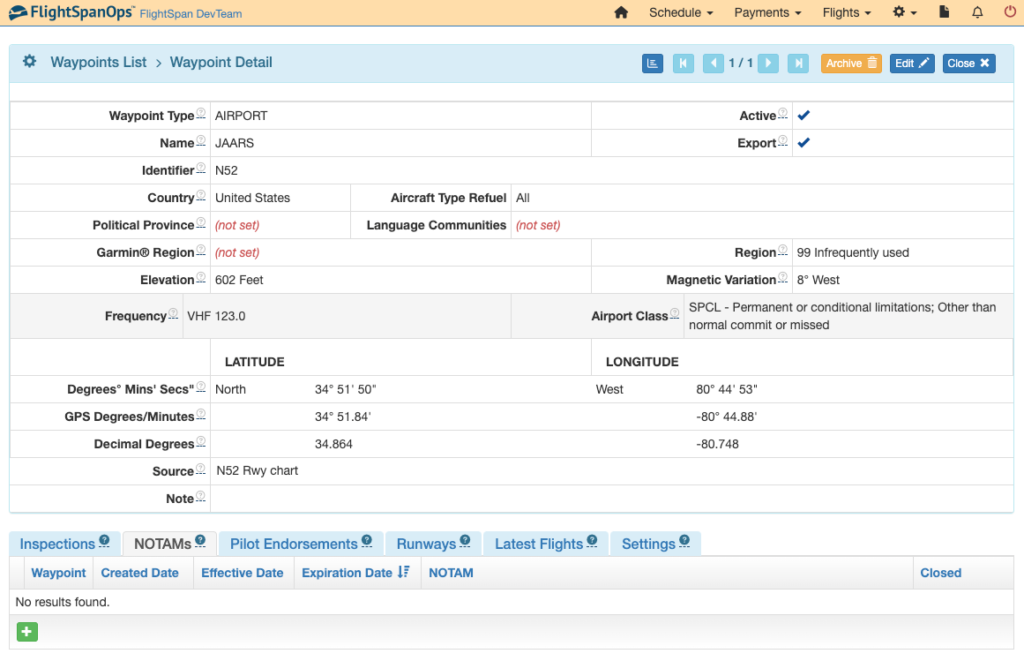
Clicking on the waypoint ID takes you to the waypoint database.
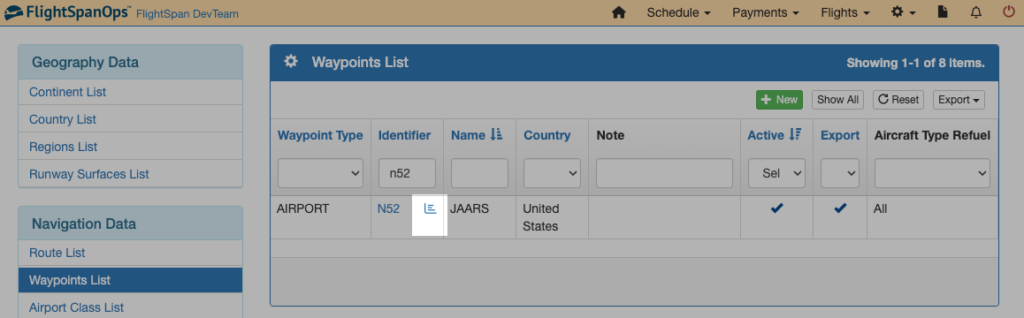
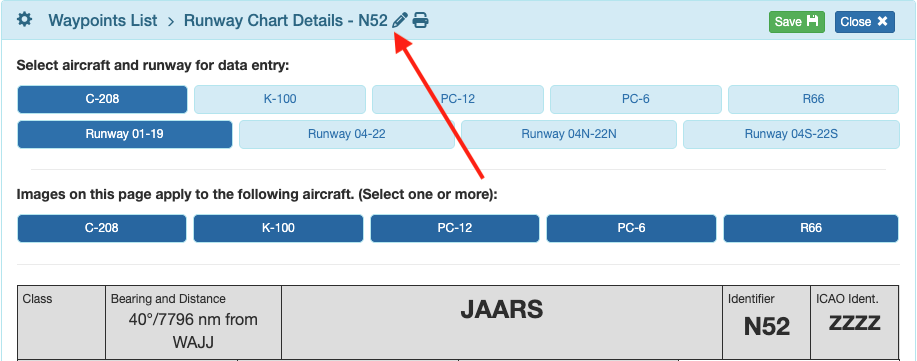
Clicking on the small chart icon to the right of the identifier takes you to the Runway Chart Details chart builder.
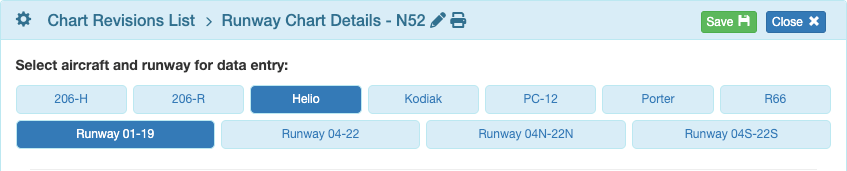
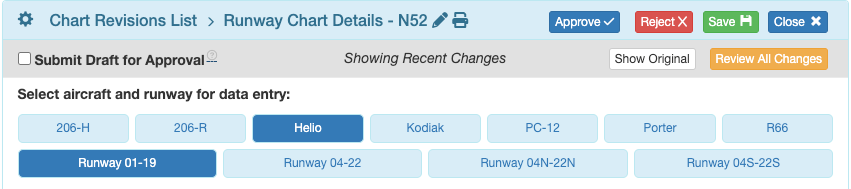
Runway Chart Details
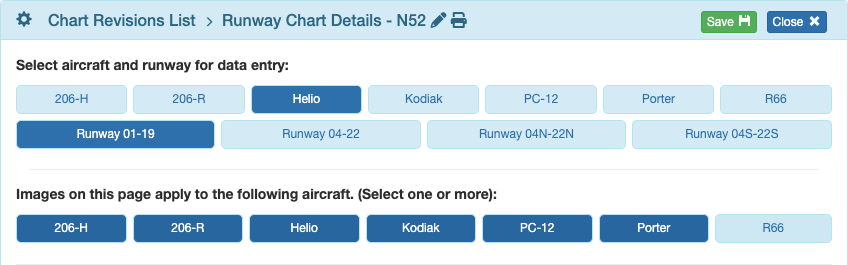
Select the aircraft type and runway you want to edit. You can only edit one aircraft type and one runway at a time.
Decide which aircraft type(s) the images should apply to. You may want all of your runway charts for different aircraft types to have the same images, or you may want different images for different aircraft types. A typical division would be fixed-wing and helicopter.
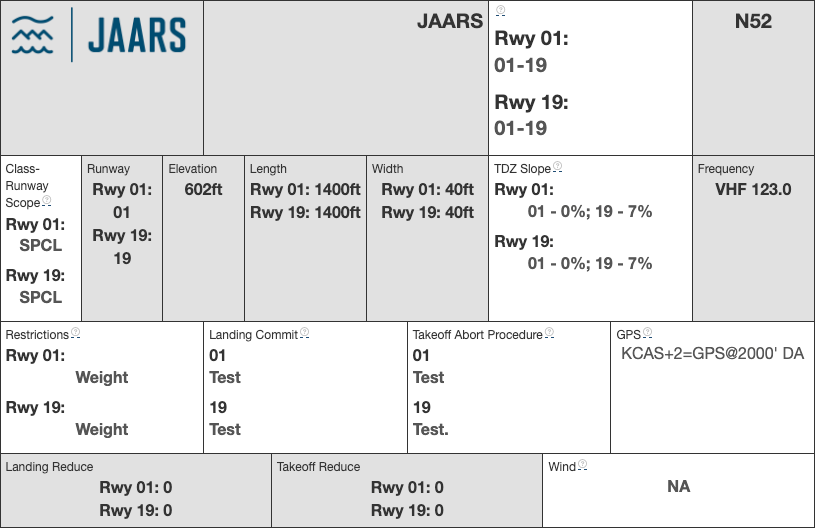
Data
Gray fields are pre-filled from the database, while white fields require you to manually add data, for example the committal procedure, since that might be different depending on the aircraft type.
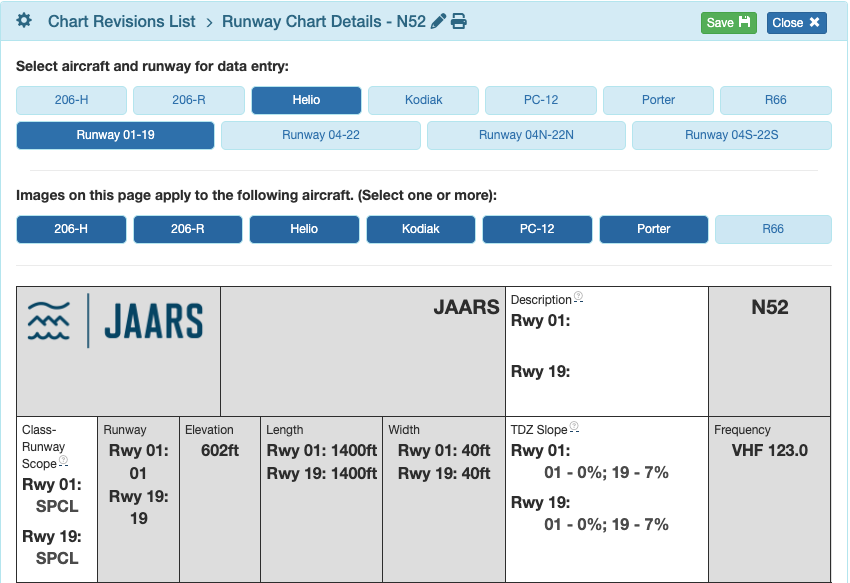
If you need to edit any of the data that is imported into the gray boxes, click the runway identifier/pencil link to open the Waypoint Details where changes can be made to the waypoint data or the runway data.
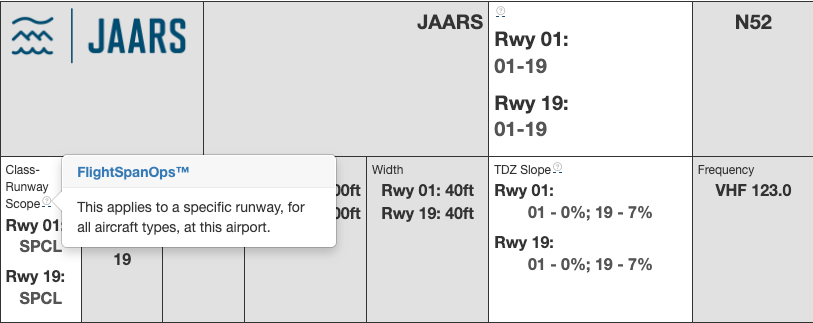
If you are uncertain about the scope of a field, hover over the question mark.
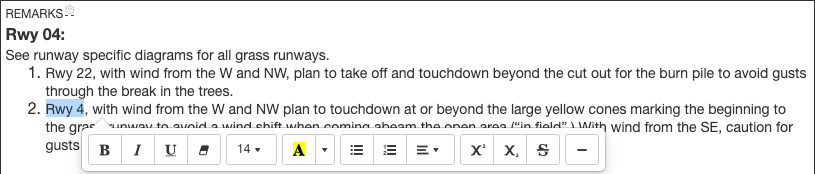
Formatting
Data in the Runway Chart Details editor will be formatted according to the master formatting in the Chart Layout Builder,
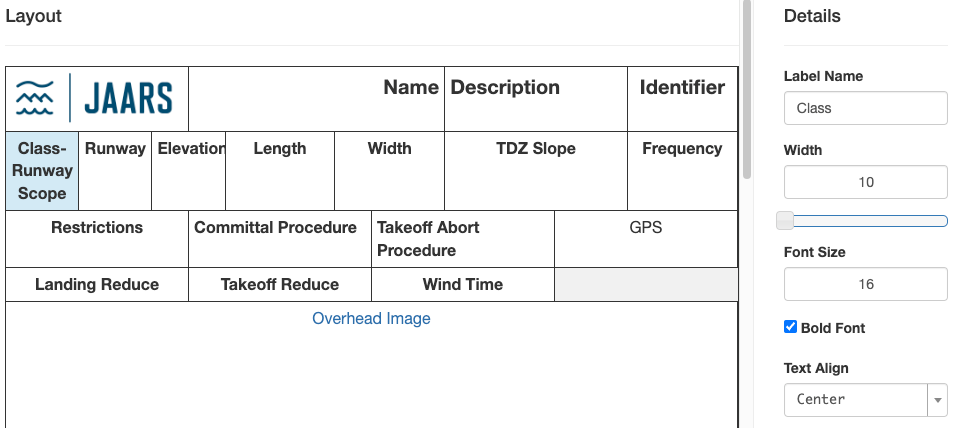
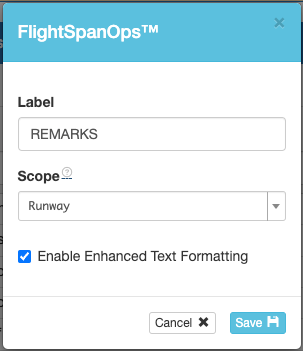
Or if the field has enhanced formatting, you have multiple options.
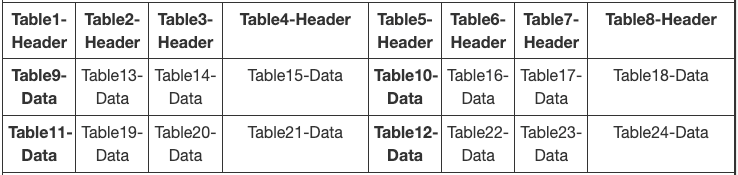
Tables
The enhanced formatting has no table option; build tables in the Chart Layout Builder using multiple custom fields.

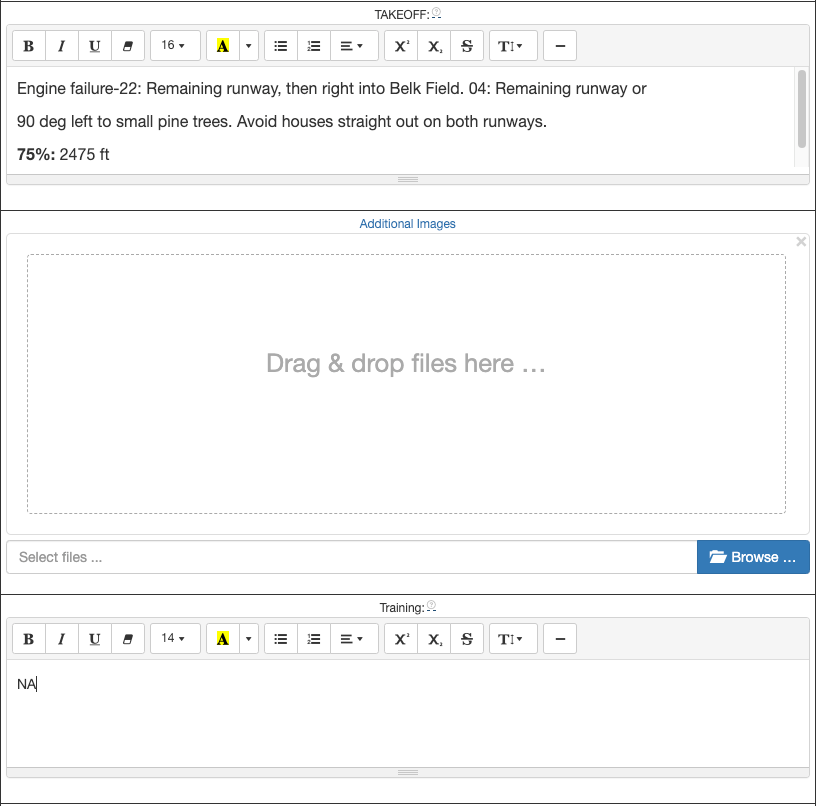
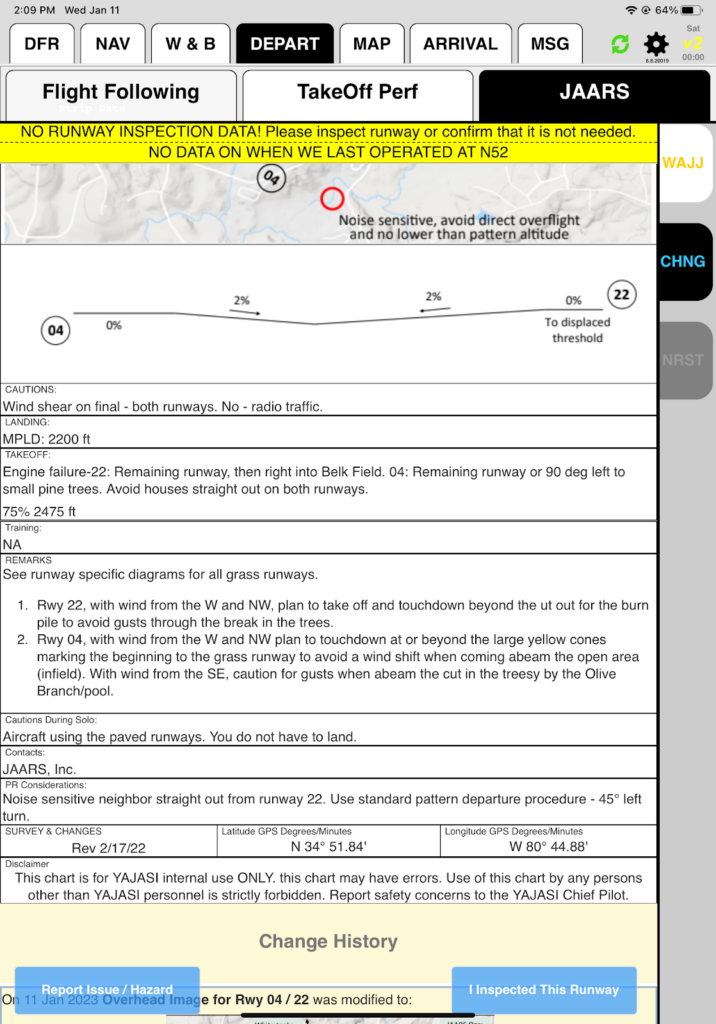
Images
Import from whatever image editor you use.
Only one image each can be loaded into the Overhead and Profile image fields. Multiple images can be added in the Additional Images field.

Multiple images will be arranged vertically on the EFB display. Image order can be changed using the Move/Rearrange buttons to drag and drop the photos.
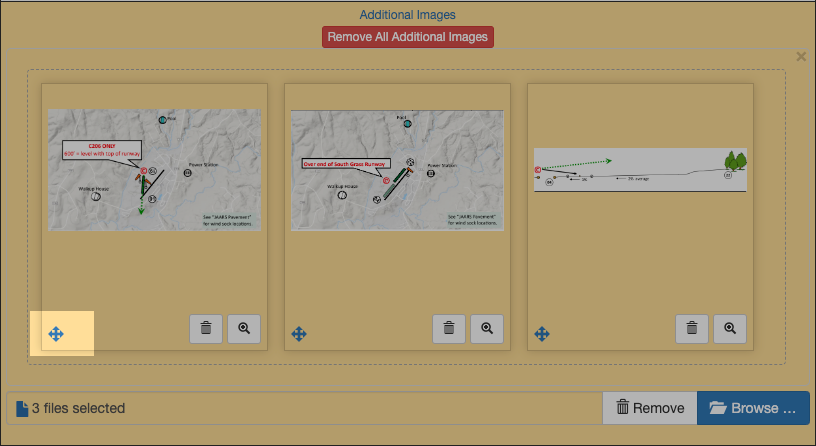
Note that before photos can be rearranged, changes must be saved.
You must also save after deleting previously approved photos before you can load new ones.

If the additional images field in your chart layout is left blank, the blank field is suppressed on the EFB.
Save/Submit
Save changes with the Save button.

CAUTION: if you click the Close button or navigate away from the page without hitting Save, your changes will be lost!
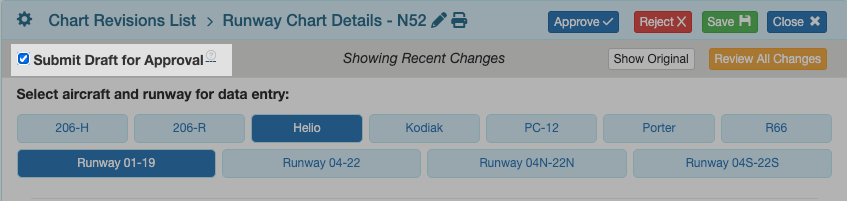
After saving, several additional buttons appear.
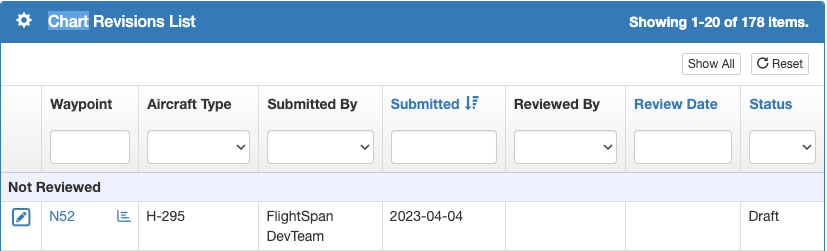
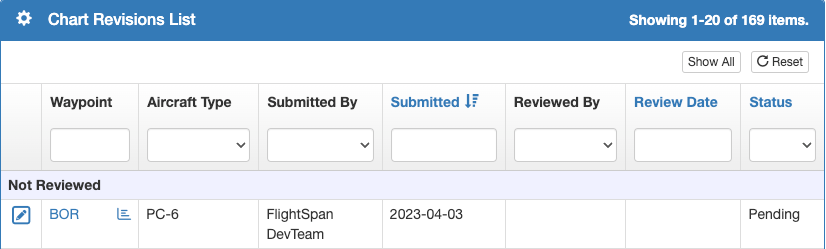
On the Chart Revisions List, the Status will be marked Draft
When you are ready for approval, check the Submit Draft for Approval box and then Save. The Status will be changed to Pending, and a notification also will be sent to the staff member with the Runway Chart Revisions Approve (for runways) or the Landing Zone Chart Revisions Approve (for LZs) permission included in one of their assigned Staff Roles.
Video Version