Add a New Load to a Manifest
You can add a load to an existing manifest by opening the manifest, scrolling down and clicking the green plus button to create a new Payment Load. See the Creating Payments lesson for greater detail.

If the payment is associated with an account, first select the account number, then create the load, and the Payment will be linked to the manifest.
Note: The account number must be selected before creating the load.
If it’s a cash-type payment, once the receipt is printed to activate the load, the Payment will be linked to the manifest.
Link an existing Payment Load to the Manifest
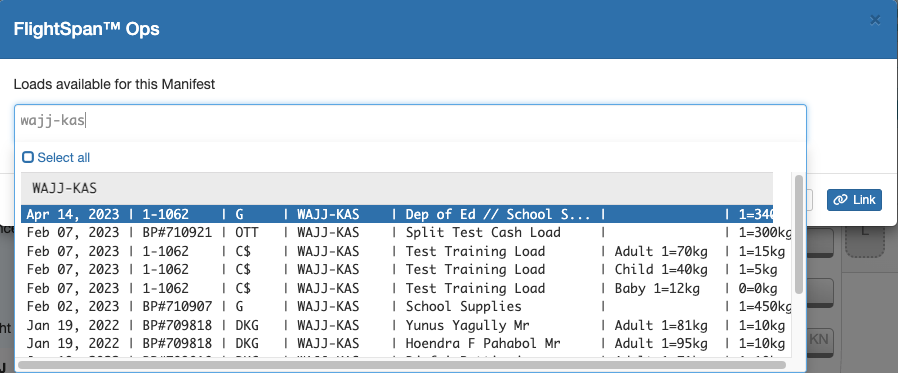
From the manifest detail page, link an existing payment load to the manifest by clicking the blue plus button.
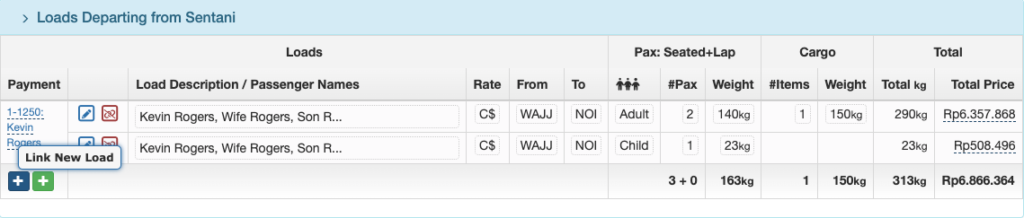
Search using date, waypoint, load details, or any other data associated with the flight, select the load from the list and click Link. The list is arranged alphabetically by departure point, then destination, then by date.
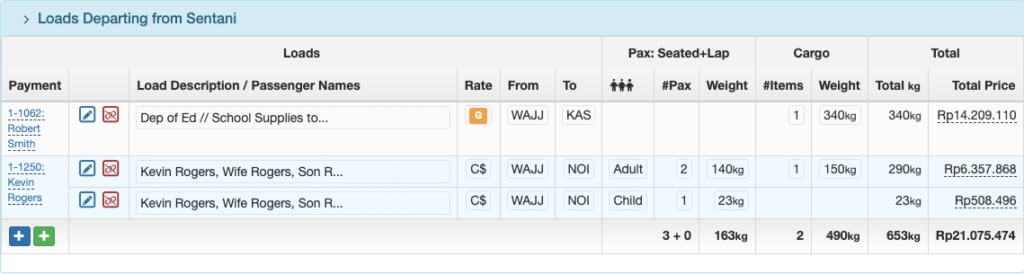
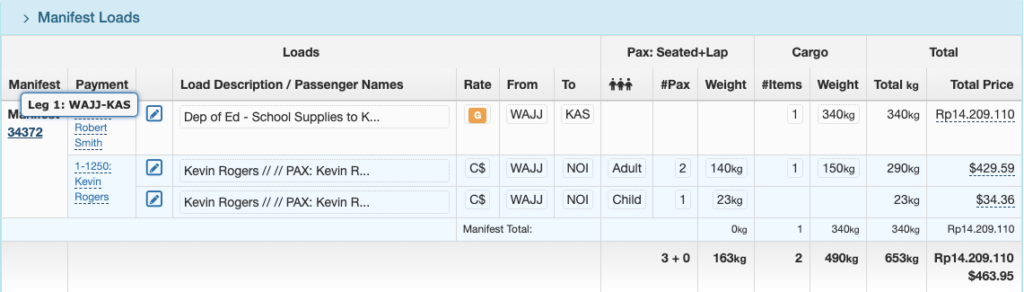
The selected load will be added to the manifest.
Link a Non-Manifest Load to a Manifest
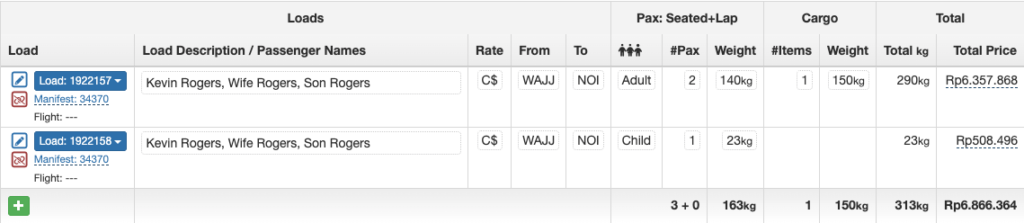
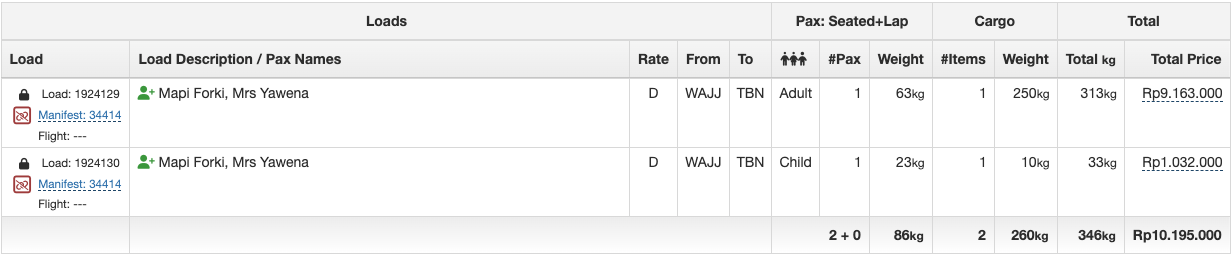
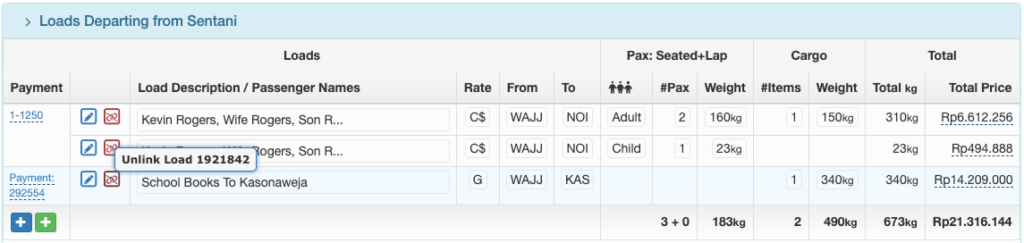
If a non-manifest load has an associated account number and rate or an associated Payment, it can be moved to the manifest by clicking on the blue Load button, then Move this load to a Manifest.

Link to an existing manifest or select Create New.

Link a Payment to a Manifest
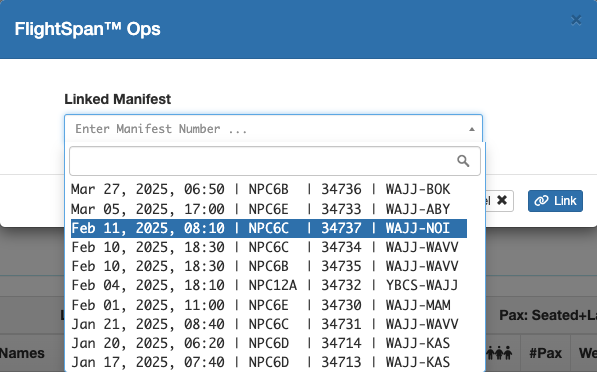
From the Payment page click on the airplane icon on the lower left to Link to an existing manifest.

Search by manifest ID, manifest number, departure identifier, or destination identifier.
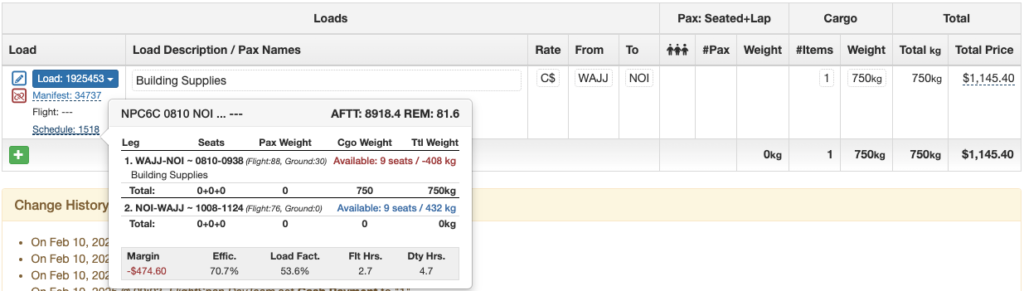
Both the Manifest number and the Schedule number (if the manifest is linked to a scheduled flight) will be displayed.
Hover over the manifest or schedule number for details. Click on their respective links to open the Manifest Detail or the Schedule Detail.
Unlink a Load from the Manifest
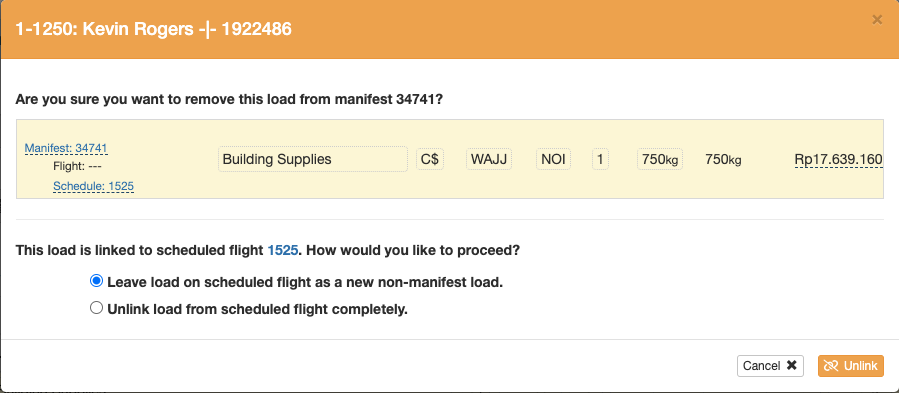
From the Payment Detail, click on the red unlink icon.

If the manifest is linked to a scheduled flight, choose whether to leave the load on the flight, or remove it completely.
Or, from the Schedule Detail page, click on the manifest number.
Then click on the red unlink button.
Select whether you want to leave the load on the scheduled flight, or remove it from the flight.

Manifest status can also be linked, unlinked, created, or viewed from the Manifest column on the Scheduled Legs section of the Schedule Detail page.

Video Version