Manifests can be edited by clicking on the manifest number from the Schedule Detail page.

Multiple changes can be made in the header section of the manifest. You can link a manifest to a different flight on the schedule, change the departure date and time, edit the automatically generated manifest number, associate the manifest with a completed flight record, and add an internal note or edit the publicly visible note. If you need to edit grayed out fields, do it from the Schedule Detail page by clicking on the blue pencil icon next to Schedule.

Clicking the red Archive Manifest button deletes the record. You will be asked for confirmation. Once a manifest is associated with a load, it can no longer be deleted, and only users with the appropriate permissions can delete manifests.

The Parameters section of the manifest gives a summary of aircraft ramp, zero fuel, takeoff, and landing weights, payload available, route and altitude, and weather parameters used for the calculations. Any weights that are out of parameters will be highlighted yellow or red. Hover over the field for details.

You won’t be able to print the manifest until all overweight issues are resolved.

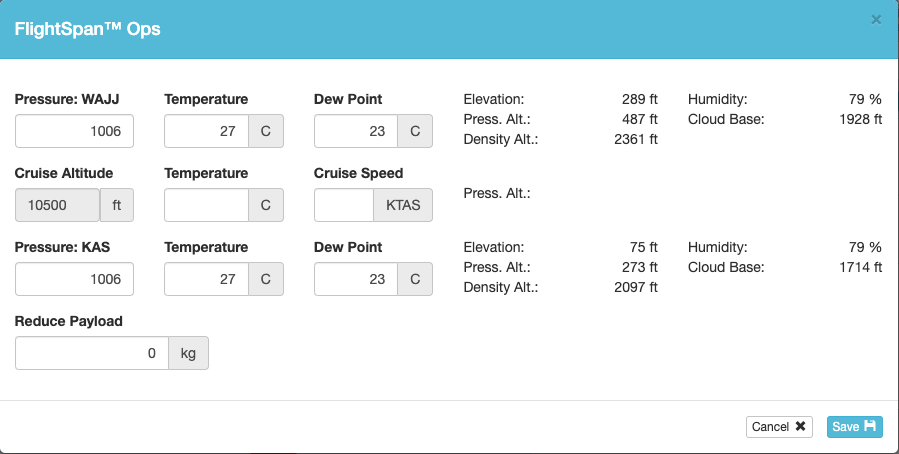
If you click Edit, you can change the default parameters. This normally won’t be necessary, and only Cruise Speed and Reduce Payload will affect the weights.
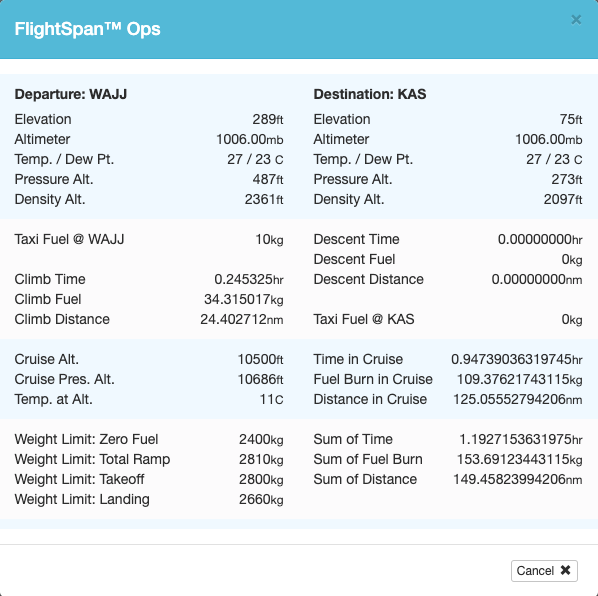
Clicking View Calculation Details will show you the automatically generated flight planning information.
Change Configuration
The Configuration section is used to change aircraft configuration and the default equipment on board. FlightSpan™ looks at past history for the aircraft type on the given route, and assigns it a likely configuration, but you should confirm the configuration is suitable.
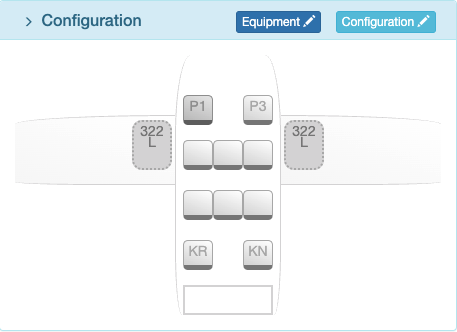
Select the light blue Configuration button to configure the seats, aux tanks, and pods using the quick configure buttons, and fuel quantity using the sliders.
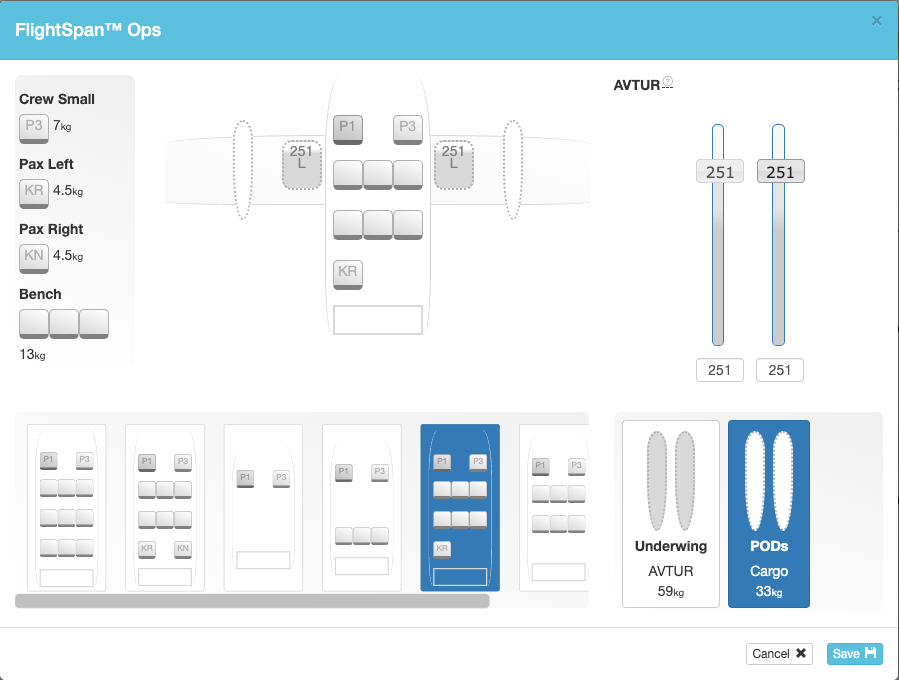
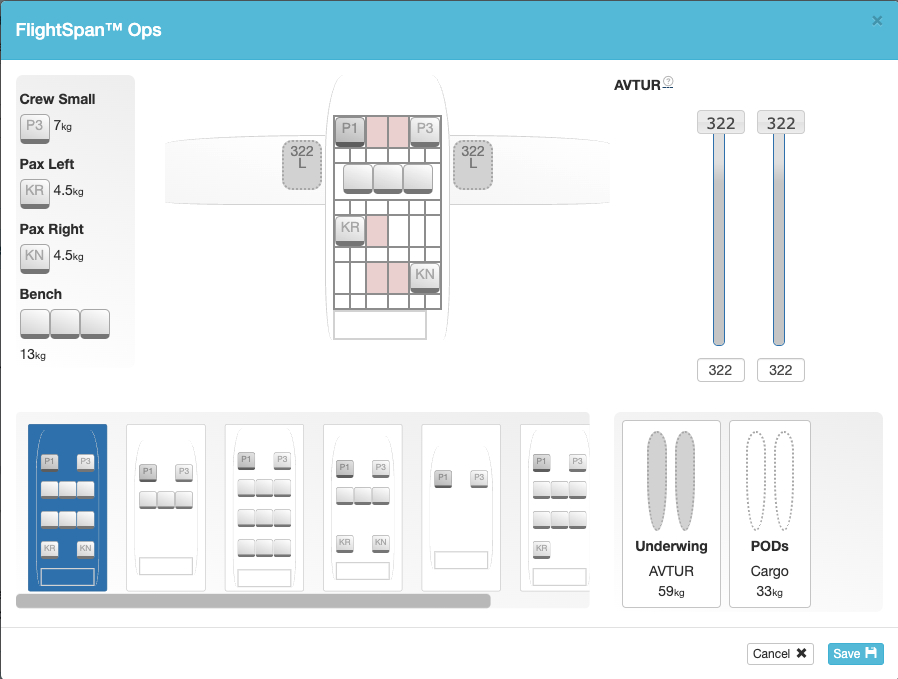
Or create custom configurations by dragging seats into or out of the aircraft. FlightSpan™ will take note of commonly used configurations and save them as quick configure buttons.
Once you are configured correctly, click Save,
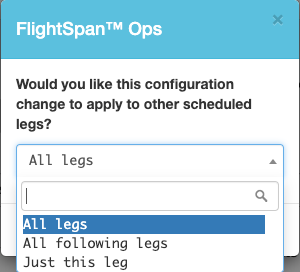
And decide which legs you want the configuration to apply to.
Edit Equipment
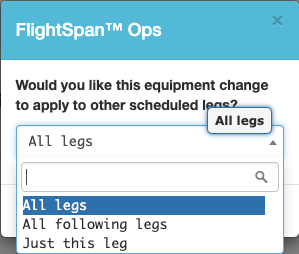
From the Configuration section of the manifest, select the dark blue Equipment button to edit the equipment on board. Drag equipment to the left to remove and to the right to add them to the aircraft. Use the reset button to return to the standard equipment configuration.
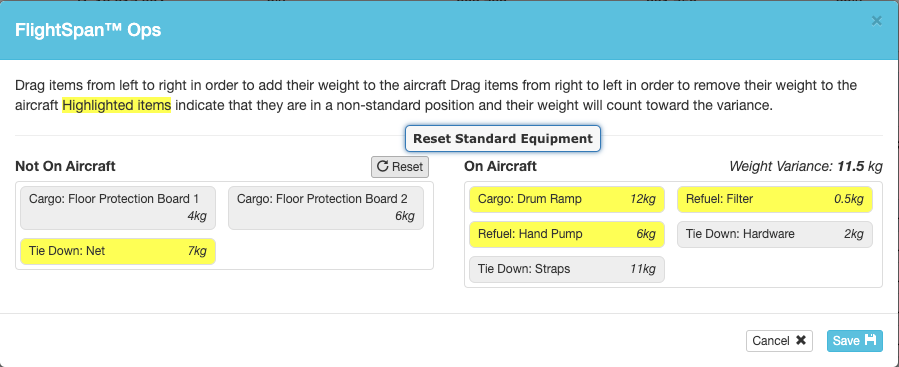
Save and decide which leg(s) you want the changes to apply to
Edit Loads
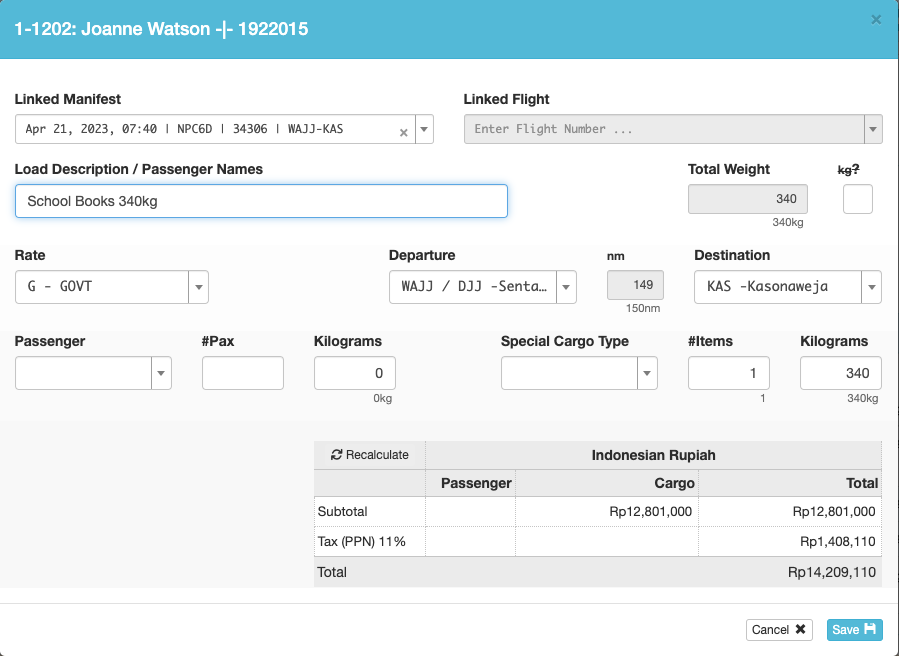
From the Manifest Loads section of the Schedule Detail, or the Loads section of the manifest, loads associated with an account number can be edited directly in the list.

Or click on the blue pencil icon to edit any load.

Make changes as necessary and save. The amount charged will be changed, and the associated payment record will also be updated.
Note: Cash type Payments can only be edited if the original load has been split (superseded), and cannot be edited to exceed the original payment amount. To split cash type payments, you can:
- Set the Company Custom Setting “Auto Supersede Cash Type Payment Loads After Receipt Is Printed” to Yes, or
- Unlink the Payment from the manifest, split the load, edit, and relink
A load may also be added to a manifest by clicking the green plus button. See the Creating Payments documentation for greater detail.
Note that Manifests do not not consider additional loading being added to the aircraft on subsequent legs. It may be necessary to limit the manifest load to accommodate a subsequent load.
The Payload column of the Legs section of the Schedule Detail will highlight the overweight condition of subsequent legs.

Video Version
