
The Map Layers section of FlightSpan™ Ops is where maps for the EFB are managed. Any georeferenced map can be used to create the tiles, giving you the flexibility to load any type of map onto the EFB – for example VFR or IFR nav charts, street maps, topo maps, or even hand-drawn maps.
If you are technically inclined, you can create your own map tiles following these instructions. But don’t hesitate to reach out to FlightSpan Support, for assistance in creating your map tiles files.
Load New Map
Once the map tiles have been created, open the waypoints page from the link on the home page or from Waypoints on the Settings menu.
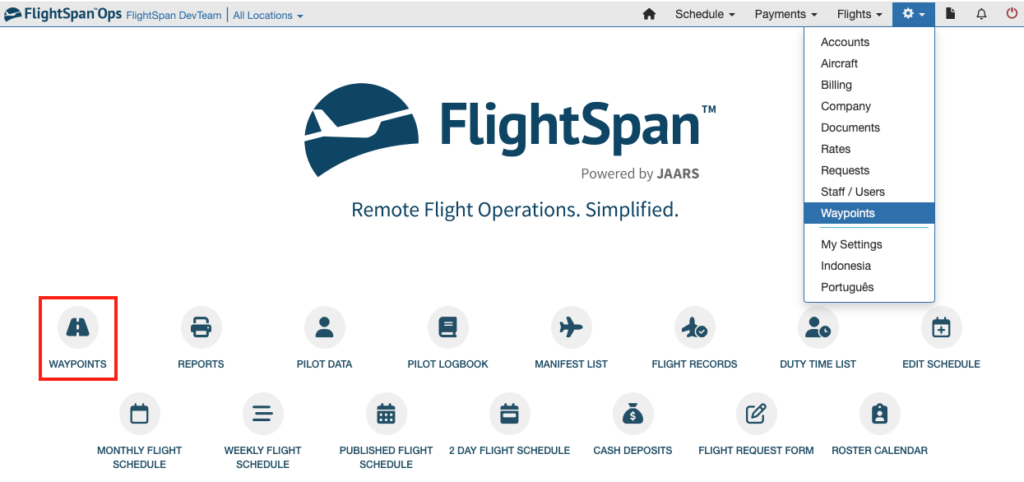
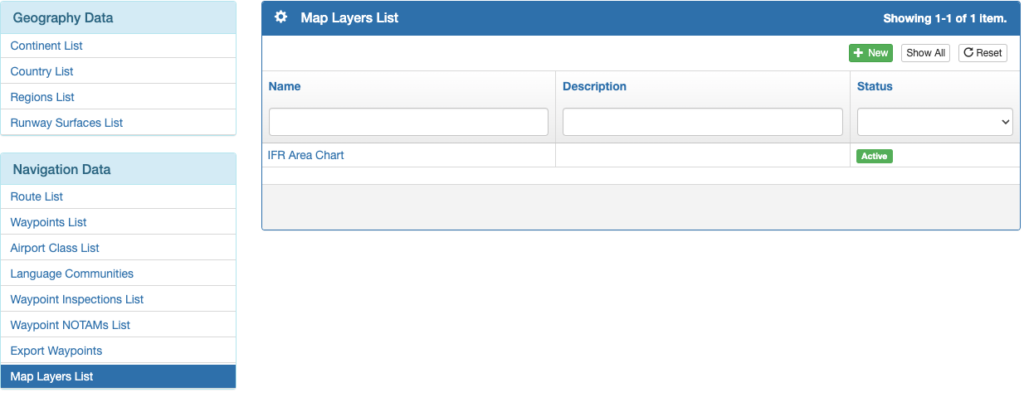
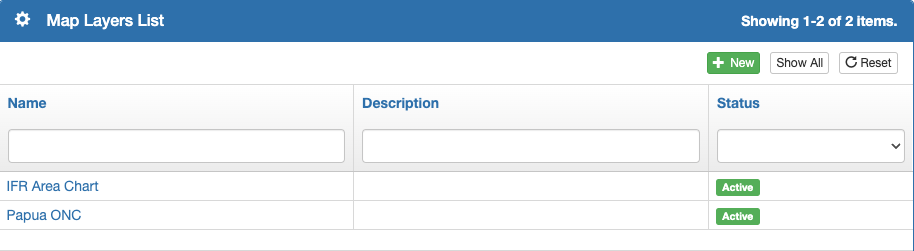
Then select Map Layers List from the Navigation Data menu on the left.
Create a new chart by selecting the green New button.
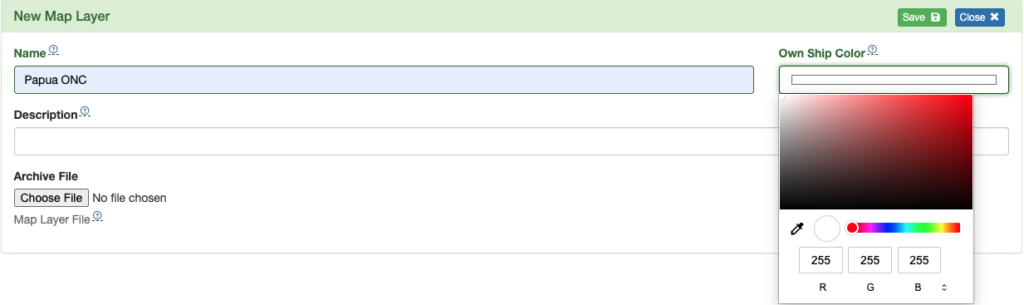
Add a map name, and a description if desired.
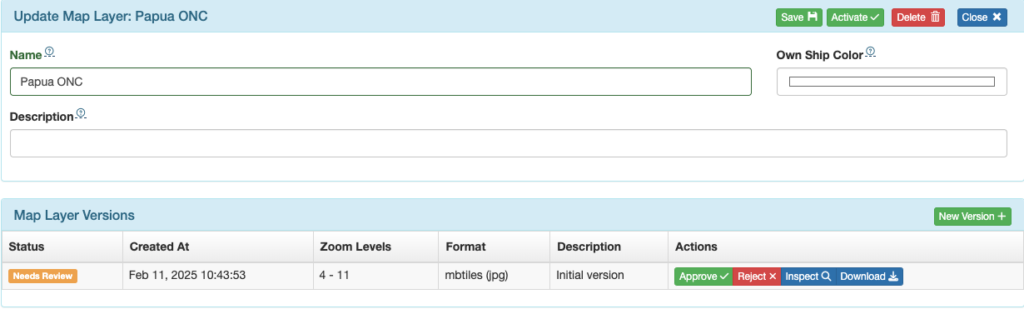
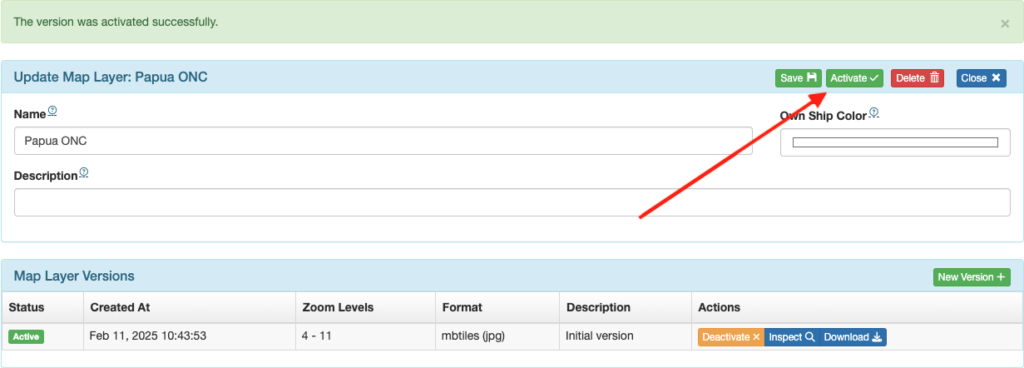
The default Own Ship color on the EFB is white. If a different color is preferred, select a color from the color palette, or enter the color in RGB, HSL, or HEX formats.
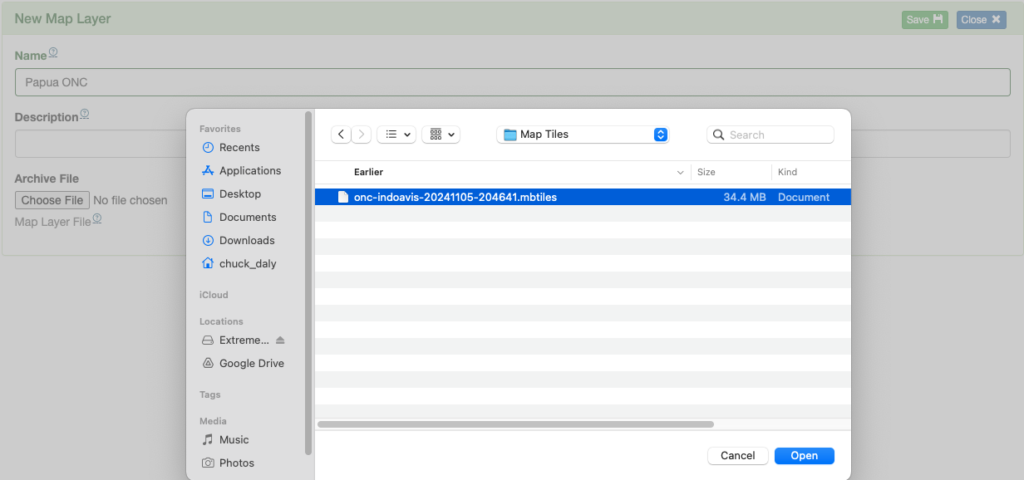
Then select Choose File.
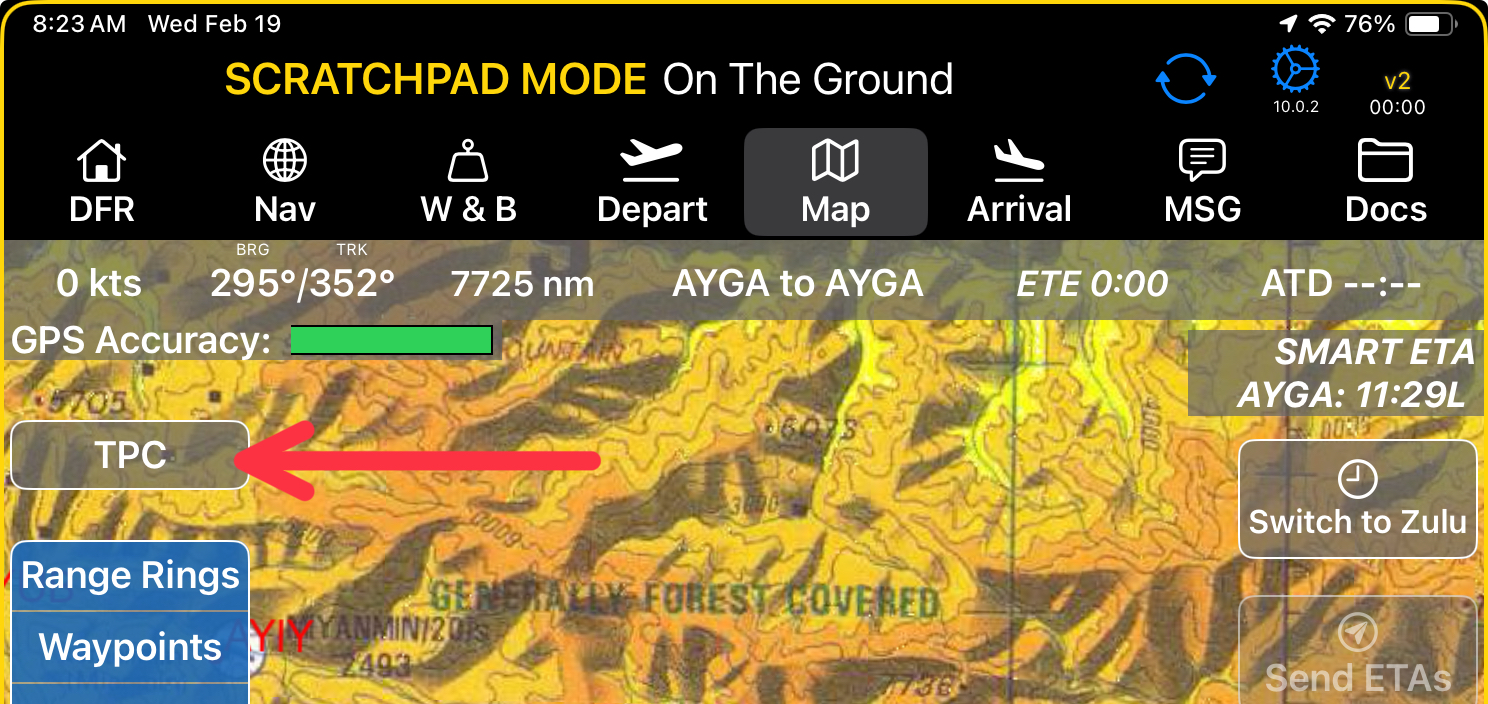
Note that the map name is what will show in the EFB map selector on the MAP tab, so you’ll want to keep the name short, clear and easy to understand.
Select the desired mbtiles or zip file from your maps folder, upload the file, then Save.
The file will be created with a Needs Review status.
Edit Existing Map
To edit an existing map, click on the map name.
Click the green New Version button to update the map. As a best practice, deactivate and/or delete any previous versions, but in any case the EFB will always use the most current version.

A version history is maintained for each map layer. Deactivating either the map layer version or the chart will remove the chart from the EFB.
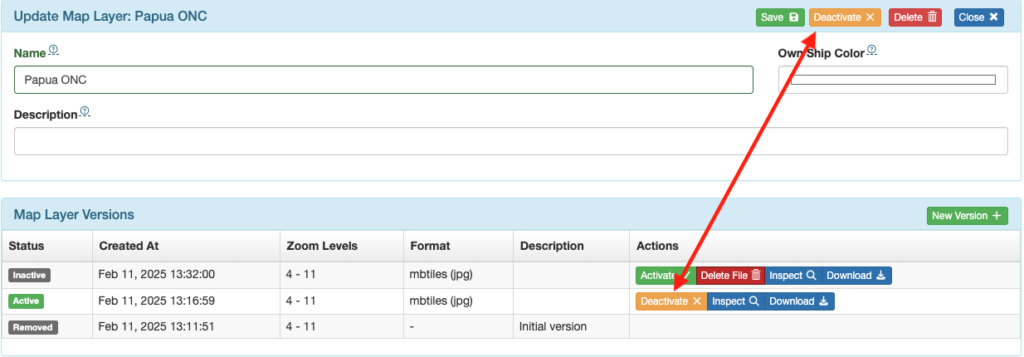
To delete a layer, first deactivate it, then select Delete File.

You will be asked to confirm.
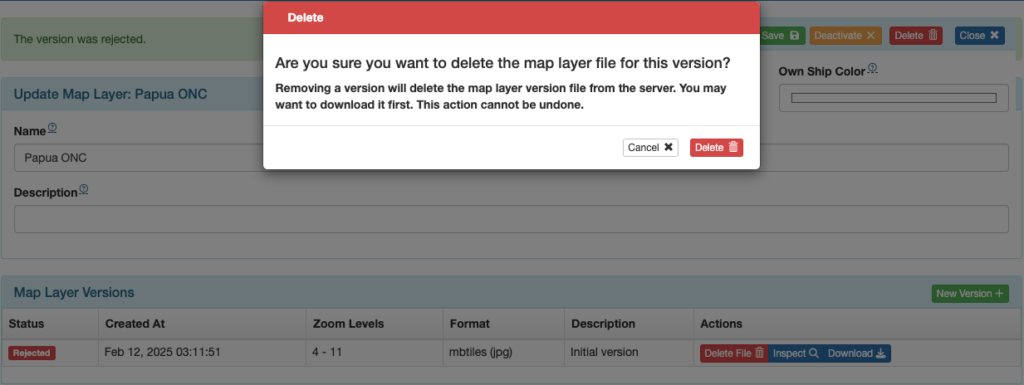
Delete a map entirely using the Delete button at the top.

Map Layer Approval
You can give staff members different levels of permissions to manage Map Layers; this is designed to allow you to have one staff member create or edit map layers and another approve the additions or changes. You can, of course, give all Map Layers permissions to any staff.
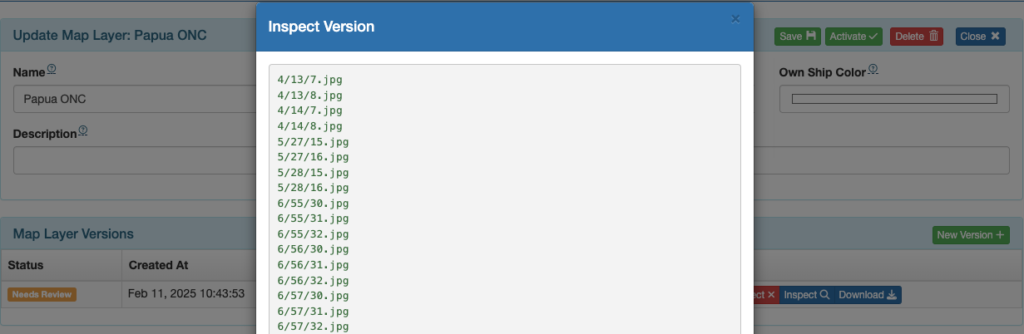
Select the Inspect icon to review the file and make sure that all of the layers are present.
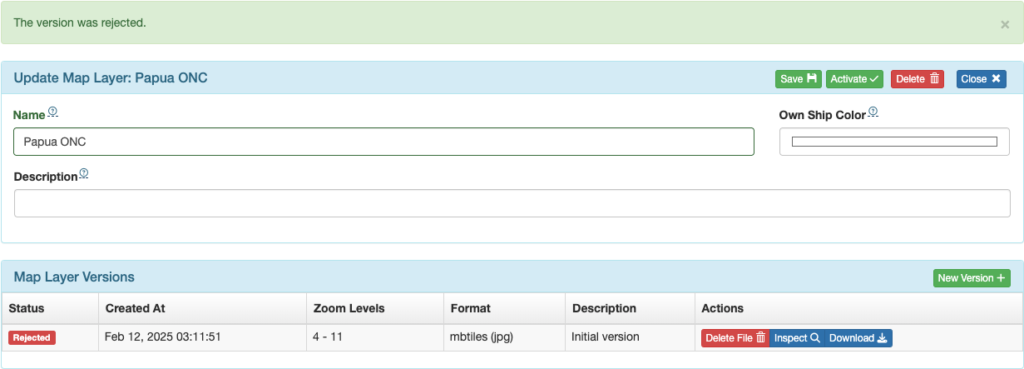
If you select Reject, the file will be marked as rejected, and you will have to upload a new file.
If you select Approve, the file will be marked Inactive. Next select the Activate button by the file name.
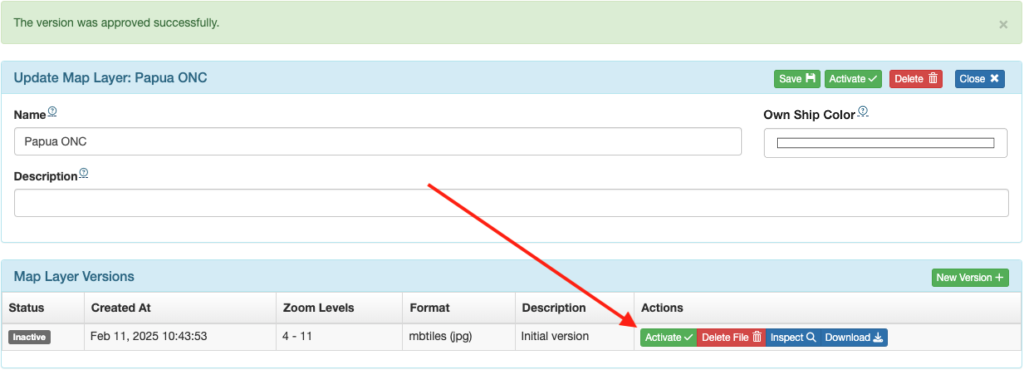
Finally, select the Activate button at the top to make it available on the EFB.
After an EFB sync, the map will be available on the EFB.

Video Version